
Anyhow, I know this isn't really quilting related, but if you like to make purses, totes, or even if you scrapbook - these babies can be really useful. The kicker is they aren't hard or expensive either!

I used Dritz 1/4" silvertone eyelets with the same size eyelet tool. I borrowed a button hole maker from my mother to hammer the hole and I used the little wooden piece that came with it when hammering the eyelet to keep it from impacting my table tiles.


The hole doesn't have to be perfect, just big enough to fit the pieces through.

You put the longer sided piece in first through the top of your fabric...
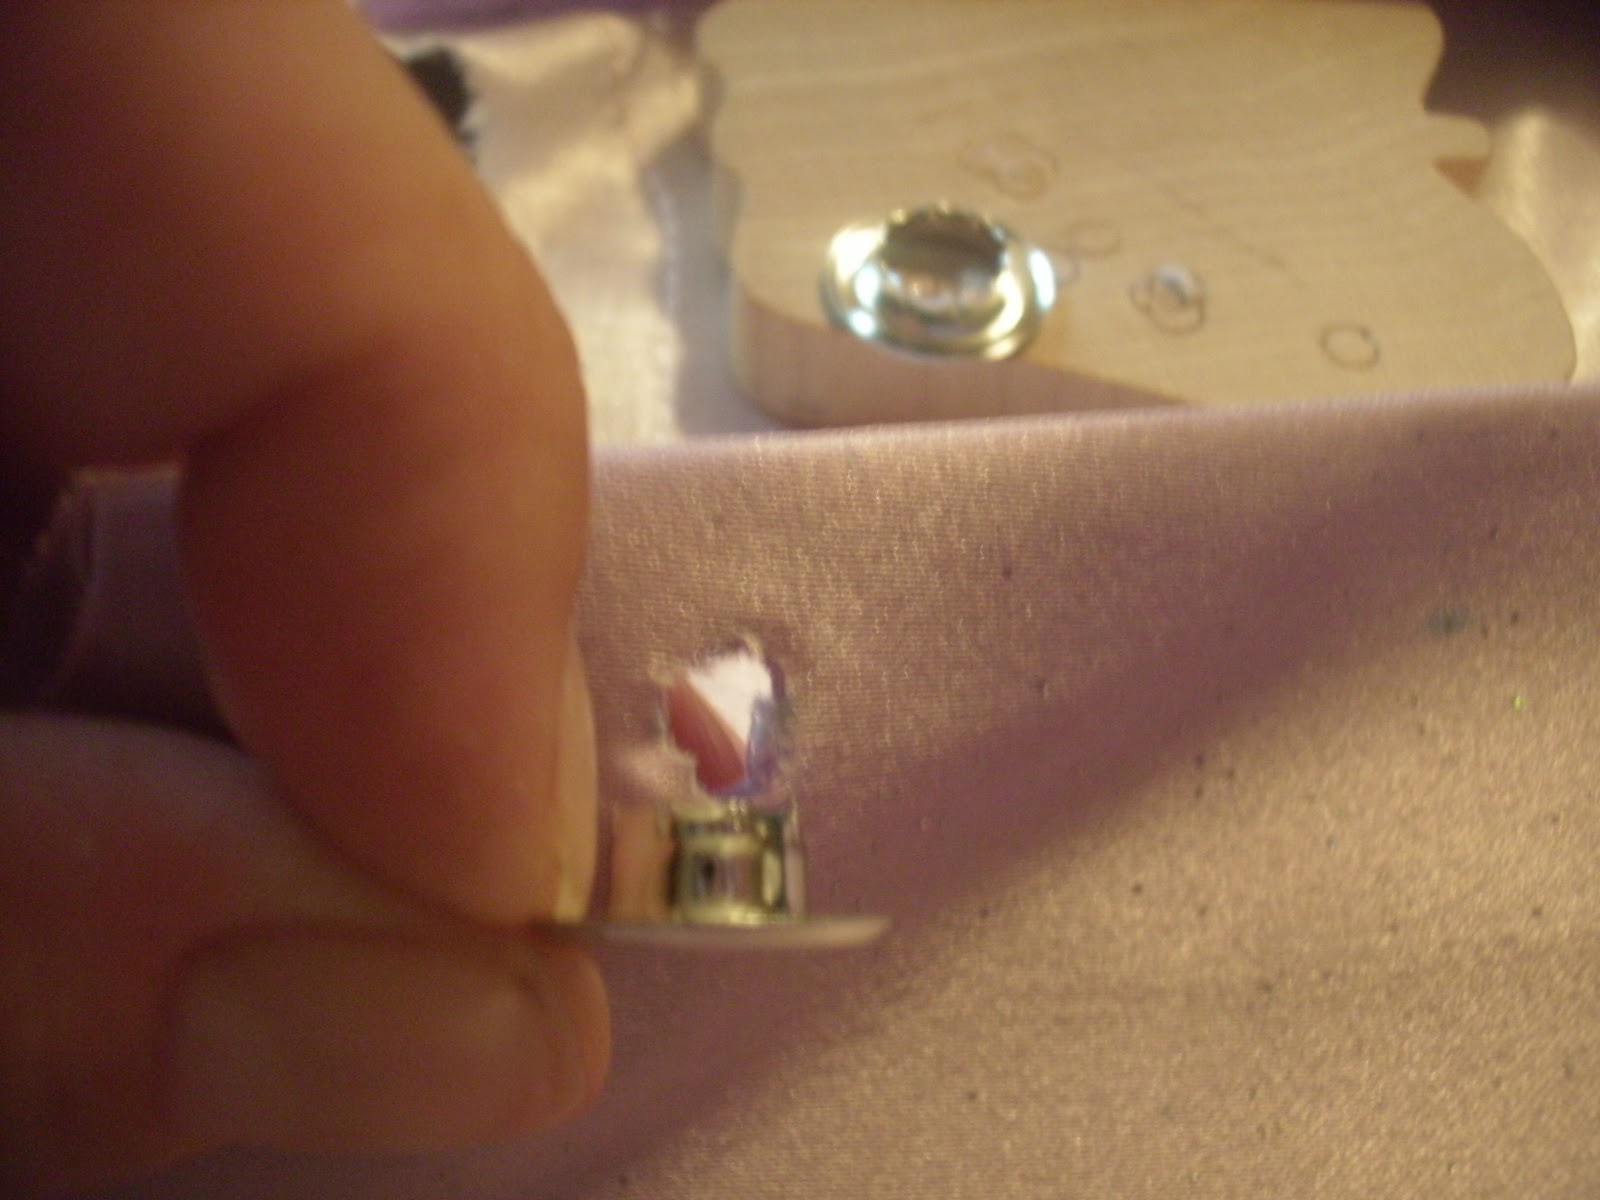
Then the other shallow side goes over the back. Place the black little plastic circle that comes with your tool kit underneath the eyelet and sort of fit it into the ridge...

...tap lightly a few time swith the hammer and you'll get this underneath! It takes a little practice and I think the black piece wears quickly. I'd like to pick up one of the pliers eventually but they are a little pricey. Not all of them came out this nicely but I tested them to make sure they were sturdy...they aren't going anywhere.


So there it is! They aren't perfect but they aren't too shabby for my first shot! I think they really make my lil' girl's princess dress look awfully nice! :)
No comments:
Post a Comment