Friday, July 20, 2012

Ariel Costume Progress

Oh my goodness looking at me all going days without posting and stuff!  LOL*  The Ariel costume is coming along...I stopped with the top for a little bit because that sparkly fabric was getting on my nerves BIG TIME!  :)  I managed to get as far as finishing the outer shell of the top and the lining...I just have to attach the back to both, insert the elastic in the back and the zipper. 

Here is a picture of the skirt...there is a slit in it so that my daughter's legs will fit through and a handle to carry the fin.  This part just needs elastic and it will be done!  :)

Monday, July 16, 2012

 My Mickey shirts!!!


Tie Dye Mickey Experiment

Still working on the Ariel dress but I need trim and there isn't anything locally available.  Going to try and finish it up today and decide how necessary it is or if I need to drive out of town to find something.  In the mean time I found a new obsession!  TIE DYE MICKEY's!  LOL***  I flipped out on Friday when I came accross a website on how to tye dye a Mickey head onto a t-shirt...and yesterday I was compelled to try it on my own!!!  I don't know how this is going to turn out, it might end up being a huge blob...it looks like a big mess so far...but I'm going to stay optimistic...can't wash them out until tonight...fingers crossed!


Friday, July 13, 2012

Third Time's a Charm...Or Is it?

Eep!  Four days since I've posted - sheesh I was really on a groove there for a while wasn't I!  Well, I'm still sewing, although I haven't made tons of progress.  The Ariel dress is proving to be royal - and when I say royal, I mean, it's A ROYAL PAIN in the YOU KNOW WHAT.  LOL*  Mostly because of the fabrics I chose...and go figure, I strayed from the drections (smacks forehead) and totally screwed it up.  I cut the top once, twice, now three times.  LOL*  Um...Valerie, you might want to read the directions and FOLLOW them this time.  Eep.

Here's the first two attemps...not lookin' so hot there.


This is much better.  I have to pick up some sequin trim this afternoon or over the weekend.  I decided against actual clams.  LOL*  I'm going to attempt some sort of sequin decoration that may or may not look like clams.  LOL*  I might toss clams out the window altogther and tell dear daughter that she'll have to do without!  At this point, if I ever get this finished at all I'll be satisfied...no matter the bleepin' clams!!!

Monday, July 9, 2012

Easy Peasy Eyeglass Cases

My Dad requested these a few weeks ago and has been patiently waiting for me to find myself in between projects so that I could make them for him!


Photo tutorial below...happy Monday!

These squares are about 7.5" X 8"...and I just guessed on the backing fabric - I used a soft pre-washed orange flannel.


Quilt as desired and trim away excess.


Fold in half (shortest side), pin.


Sew at 1/4", pivot at corner.  Be sure to leave one end open!


Now you have this -


Turn inside out...you may need a tool for this...


Pin to prevent shifting, sew seams again to enclose them, just past 1/4" so you completely encase the seam.


Trim corners, stitch to prevent raw edge from fraying with use.  You may want to neaten up those tails more than I did!  I just clipped them really quickly with thread cutter on my machine...not very pretty!  :)


Turn again.  :)


Ta- dah!  :)  Cute!  Finish with binding scraps or serge and turn down raw edge.

Sunday, July 8, 2012

Advice and Opinions Needed Please!

Is anybody out there?  LOL*  Can you help me?  I am thrilled to be done with my middle daughter's dress, but now I have to tackle my oldest daughter's Ariel costume.  I picked up these fabrics...I always thought of Ariel as having sort of an aqua/blue tail and fins...but when I went online to look at other people's costumes I saw a LOT of green tails and fins!  What do you think of when you imagine Ariel?  Should I go with a greener fabric than this???  I was thinking maybe a combination of green down the tail and then the fin in the aqua blue with green sequin detail...or would you go with just the purple and aqua? 

Any thoughts?  Advice?  Opinons?  Suggestions? 


My daughter is 10 if that helps any...so I better get this costume pretty spot on or she's gonna call me out on it!  She's "too old" in her opinion for Ariel...but since we're going to Disney she is willing to dress up.  LOL*  She has requested "clams" like Ariel has...working on a discreet and age appropriate way to add clams to her top!!!  LOL*

Saturday, July 7, 2012

Rapunzel Dress is Complete!

Well, my six year old's Rapunzel dress is finished!  I'm so happy!  I cannot wait for a nice cool day so I can do a little photo shoot with her in this.  :)  I'm really happy with how it turned out.  I only wish I had used a different purple for the overskirt so it would have looked more like the Tangled costumes we see at the store - but my baby girl is thrilled with this and we will keep it forever for her to remember.


This is Simplicity pattern number 2065 for anyone interested and I made it in size 7.  The only pattern change I made was that I omitted the underskirt and ruffle...three layers of dress in 90 degree weather and humidity just seemed too much for a little one.  But if you're making it for a halloween costume, it would be nice and comfortable for October.  :) 

Hope everyone is having a wonderful weekend - happy quilting!  Or sewing!  Or crafting!  :)

Friday, July 6, 2012

Giveaway Winner!

Thank you to everyone who entered the giveaway celebrating my 300th post!!  There were a total of 27 comments...and the winner is...

Quilter Kathy!!!

Kathy please send me your snail mail so I can mail out your fabric, as well as the email you'd like your pattern sent to!!  :) 


In sewing news - I finished the Rapunzel dress this afternoon and this evening I will get working on that head piece...I will show a picture as soon as I finish.  Tried to get my lil' Abbey in her dress but it was too hot to stay in longer than just enough to zip it up and then zip it right back down again!  She better not grow too much before our trip - it JUST fits!!!  EEK!  I made this a size larger too!  Pooh!!!

Thursday, July 5, 2012

It's Looking Like Rapunzel! LAST CHANCE GIVEAWAY!!!

LAST CHANCE TO ENTER MY GIVEAWAY!!!  CLICK HERE and comment to enter!  :)


Hours of handwork yesterday - but I'm so thrilled with how it's coming along!!!  Hopefully the next shot my daughter will be wearing it!  ;)

Wednesday, July 4, 2012

Eyelet/Gromet Tutorial

Sorry for the two posts in one day!  I had to post this so I could share with my Momma.  These stinkin' eyelets have caused me SO much stress.  It's my own fault too.  You ever make something and want to cut corners because you are just so tired???  Bad idea.  Moral of the story - follow the directions.  DO NOT DEVIATE FROM THE DIRECTIONS.  Hahaha - ok, well at least people like me should stick to what they tell you to do.  LOL*

Anyhow, I know this isn't really quilting related, but if you like to make purses, totes, or even if you scrapbook - these babies can be really useful.  The kicker is they aren't hard or expensive either!


I used Dritz 1/4" silvertone eyelets with the same size eyelet tool.  I borrowed a button hole maker from my mother to hammer the hole and I used the little wooden piece that came with it when hammering the eyelet to keep it from impacting my table tiles.


The hole doesn't have to be perfect, just big enough to fit the pieces through.


You put the longer sided piece in first through the top of your fabric...


Then the other shallow side goes over the back.  Place the black little plastic circle that comes with your tool kit underneath the eyelet and sort of fit it into the ridge...


...tap lightly a few time swith the hammer and you'll get this underneath!  It takes a little practice and I think the black piece wears quickly.  I'd like to pick up one of the pliers eventually but they are a little pricey.  Not all of them came out this nicely but I tested them to make sure they were sturdy...they aren't going anywhere.


So there it is!  They aren't perfect but they aren't too shabby for my first shot!  I think they really make my lil' girl's princess dress look awfully nice!  :)

Firecracker/Starburst Block Tutorial - GIVEAWAY!!!

Happy Fourth of July to all the American sewing bloggers out there!  ;)  I'm too exhausted to clear off the project on my sewing table today so I'm doing a different kind of tutorial.  More like - I'm just giving you the cutting instructions and the grid!  The block is...to be made at another time!  Lol*  I was flipping through blocks on EQ and I thought this was just the perfect block for the fourth of July.  Doesn't it look sort of like it should be called firecracker?  I thought I'd try it in alternating center colors...


Here's the quilt I designed using the block in EQ6 - I love the movement you get when these are stacked...


So here's the grid for this block...


...the entire block is just made up of 1/2 square triangles.  It's all about color placement!  Isn't that awesome??? 

There are lots of different ways to make half square triangles but I'm going to go with the easiest way to make them while using EQ's rotary cutting instructions.  (I do have kids to feed sometime today ya know...lol*)  To make this block in a 12" finished size you'll need to cut strips from the following colors:

CUT 3 7/8" STRIPS in the following colors:

- Off white (or gold) - for center pinwheel
- Light Blue - for outer pinwheel ("burst" effect)
- Red
- Dark Blue (background)

From those strips cut the follwing into 3 7/8" squares:

- 6 Dark blue squares
- 2 Off white (or gold) squares
- 4 Red squares
- 4 Light blue squares

Cut each square in half diagonally from corner to corner to create two half square triangles from each square.  Resew to create the following:

- 8 squares half light blue and half dark blue
- 4 squares half dark blue half red
- 4 squares half red half off white (or gold)

Arrange in starburst pattern and sew!


I hope everyone is having a wonderful holiday and I hope you find some time to sew!  :)

DON'T FORGET TO ENTER MY GIVEAWAY!  TOMORROW IS THE LAST DAY TO ENTER!!!  CLICK HERE AND COMMENT FOR A CHANCE TO WIN!!!


Tuesday, July 3, 2012

Quilts on my Mantle, Dress Progress, GIVEAWAY!

I put some quilts out on the mantle last night after being tossed in the washer and dryer.  Aren't they cute?!  I love my mini's.  :)  The best part of Etsy?  If it does't sell the first time round I get to keep it.  Woohee!  I'm still selling a few things but taking a little break from Etsy to make some things for myself and the family.  We've reached July so that means I have to start getting ready for Christmas!!!


Made some good progress on the dress - the sleeves are finished and ready to be attached.  I ran to Walmart last night and bought eyelets for the front of the bodice.  I have never used eyelets before - so guess what I discovered?  You need a TOOL to close them!!!!  Darnit!!!  It was 9pm and the baby was finally asleep, the kids were at their Nana and Papa's, and I was ready to sew...pooh!  Luckily my Mom has one she's going to loan me so I can get going on it tonight.  I decided I better make the lining too or else it's going to be awfully flat.  This $30 dress is nearing $50 quickly.  I went on Ebay last night to see how much dresses cost...I found a nice comparable one for $45.  I told the Husband I should have just bought it!!!  LOL*  I am a better quilter than I am a seamstress so this is great experience for me.

I also went through and read reviews on this pattern last night and one lady used tulle between the lining and the skirt to increase the fullness.  If I can get it on sale I may do the same.  Good thing this is for the middle daughter...looks like the baby will be Rapunzel too in a few years!!!  All this work, this dress better get some wear!  :)

I think the sleeves are gorgeous though.  I wish the camera could catch the sparkly satin and shiny organza.  Its so pretty it makes it fun to work with.  I thought being thin inexpensive costume satin that it would be really difficult to sew, but not so much.  It's been pretty simple so far.  I'm going to work on the skirt this afternoon, as far as I can get anyhow, see if maybe I can squeeze a lining out of the leftover satin I already have.  More progress pictures tomorrow.


Don't forget about the giveaway!  CLICK HERE and comment to enter.  Only a few more days - we need more comments!  :)

Monday, July 2, 2012

A Tangled Monday - and Don't Forget the Giveaway!

I think every post until drawing day is going to end in - "don't forget the giveaway!"  Lol*  Just to warn you!

Everyone has these really cute day of the week things they do, like "Design Wall Monday", or "Wordless Wednesday" - so today mine is going to be Tangled Monday.  Maybe I should have waited - Tangled Tuesday sounds better!  Oh well.  It's a Tangled sort of day because I'm working on my middle daughter's Rapunzel costume from the Disney movie Tangled for our up and coming Disney World vacation.  I cannot wait to go!  I think I might be more excited than the girls.  :)  We were able to get last minute reservations for breakfast at Cinderella's castle so all three girls have requested a princess costume to wear.  My oldest will be Ariel, my middle will be Rapunzel, and my baby girl will be Snow White.


Above shows the Simplicity pattern I'm following...and below I have begun working on the bodice of the dress.  So far the pattern seems to be pretty easy, but a little bit of legwork!  Not to mention, though I've been trying to stay as thrifty as possible, borrowing (or more like swiping) lace from my Mother's stash, buying the pattern and material on sale or at the lowest price I could find, this dress is still going to cost in the end around $30.  That is staggeringly lower than purchasing a ready made costume from a Disney or costume store...but still - OUCH!!!  The nice thing I will say about home sewing...at least you can spread the cost out a little.


Here's how that pretty center bodice is coming...this is my second go round.  I had decided I wasn't going to do the laceup cording as shown on the pattern because it looked like too much work.  I thought I'd do ribbon instead - WRONG.  What a pain.  Good thing I cut this twice just in case...so here it is, as I was supposed  to do it.  Simplicity you've broken me down and I'll be running to the store this afternoon to buy the materials to make the lace up front.  LOL*


While waiting to pick up the rest of the supplies I need I started working on the sleeves.  They are all goofy here but once the ribbon is stitched they are going to be adorable.


Another thing I noticed about this pattern is there is a LOT of waste.  Is this normal???  LOL*  I did purchase a little more fabric than the pattern called for (and thank goodness I did) but still - that's a lot of leftover fabric (pictured below).  I'm thinking the satin could be saved for a crazy quilt project. 

Did any of you start out as garment sewers, then move on to quilting?  I did.  My Mother is really into garment sewing, so naturally that's how I began sewing.  BOY have things changed now that I quilt - it's really PAINFUL to waste all that fabric now!!!


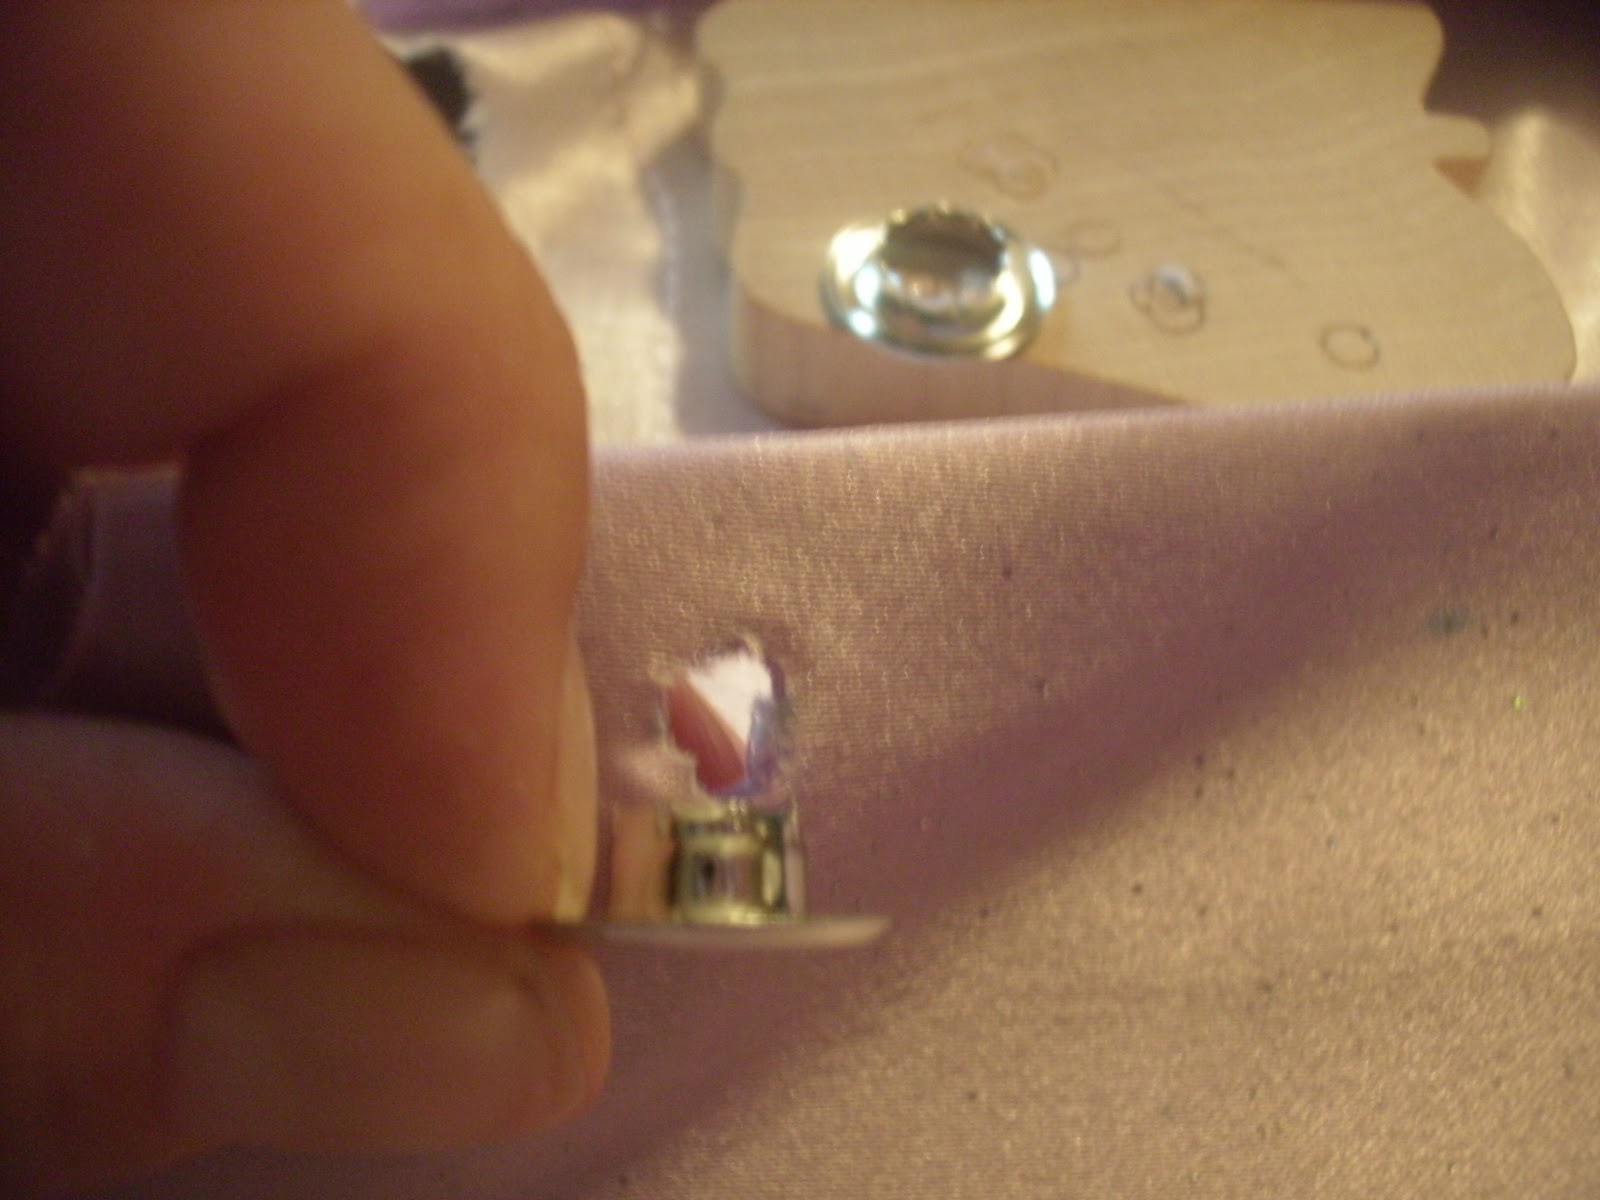
Oh and I had to get a little closeup - best I could anyhow - of the fabric that is going into the top of the dress...it's sparkly!  Now isn't that just perfect and magical for a little girl who is going to Disney?


Well I hope everyone out there in blogland is having a great Monday.  The kiddos are spending the night with their Nana and Papa so I'm looking forward to some quiet sewing time.  Sometimes during the day it just gets too hectic with "Mom can you get me..." to get much done!

OH - and don't forget to enter my give away!!!  CLICK HERE and leave a comment.  :)