Saturday, December 19, 2015

Death Star Mini in Progress

Six days and counting until Christmas!  Woohoo!  Many of my long arm quilting pals have already finished their final quilts for the year.  I have another Border Creek mystery identical to the one Jane sent me a few months ago loaded up and will be working on that over the next week or so, likely into the new year.

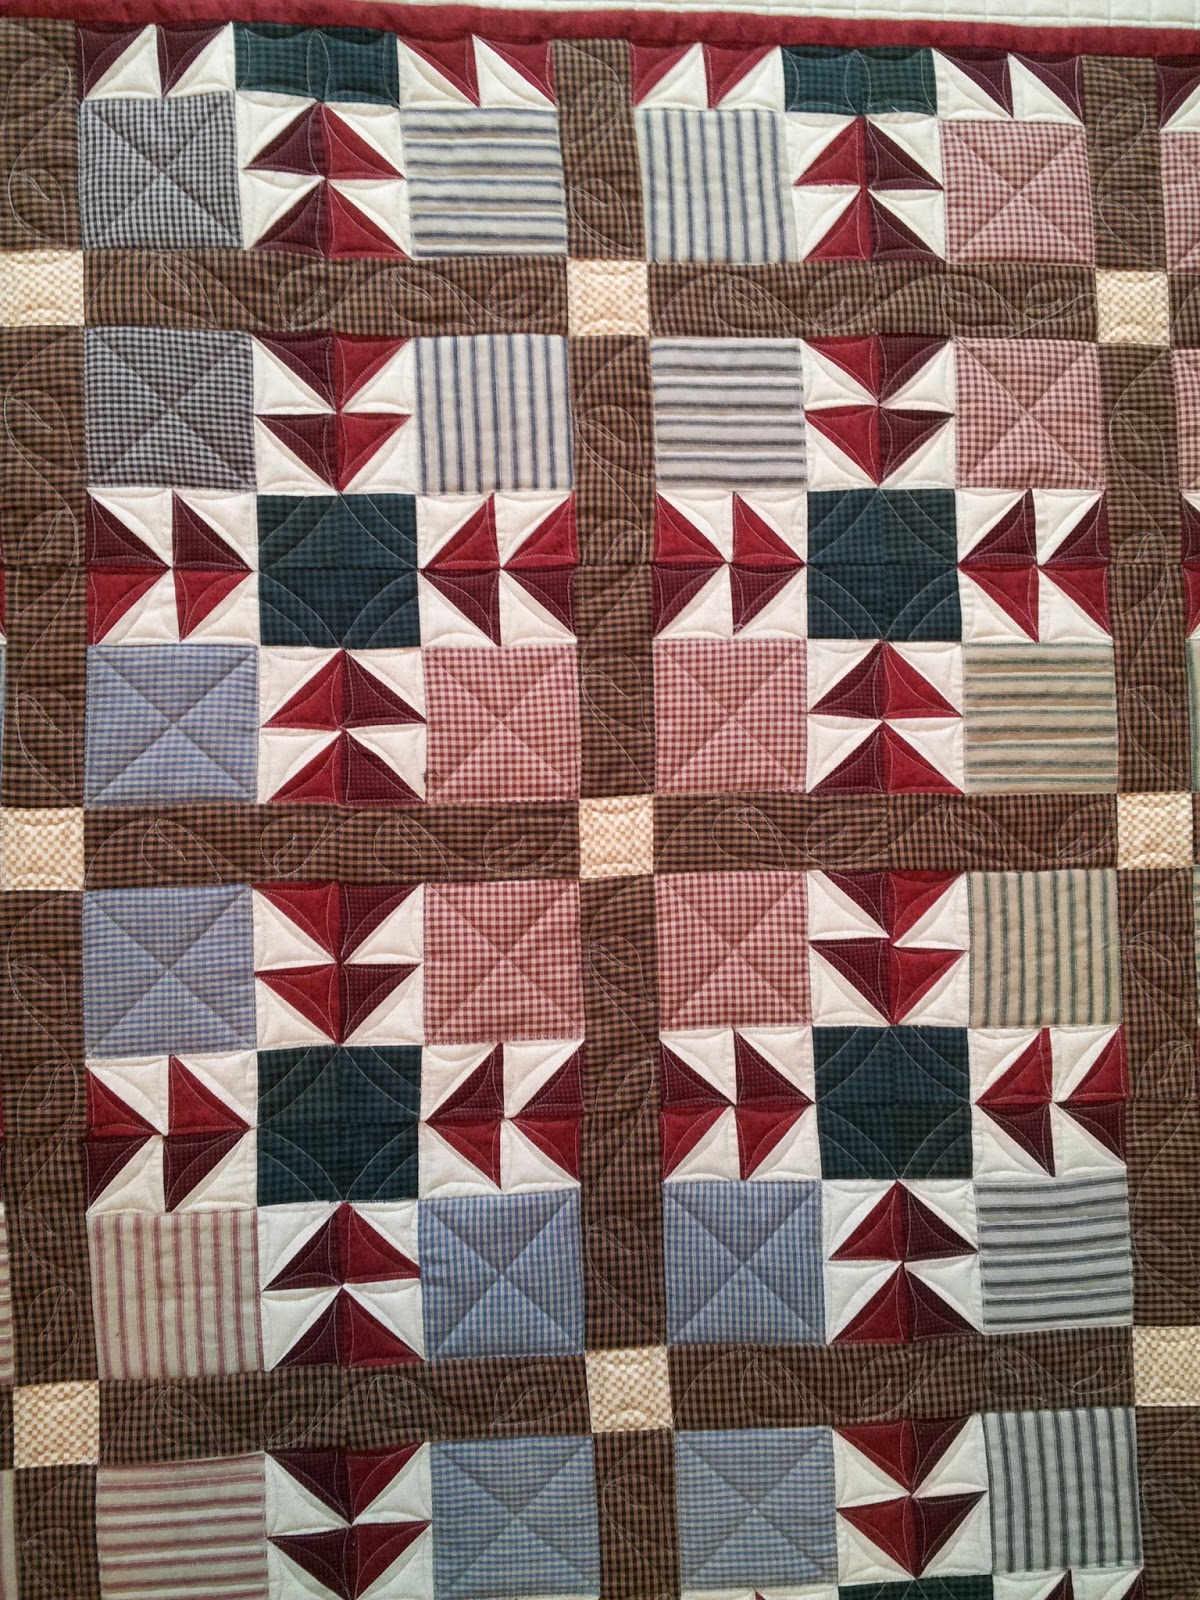
As for personal projects, I still have a half dozen or so in progress.  My red and tan quilt hasn't been touched as I have just been too busy with other projects.  I did start a death star mini in honor of the new Star Wars movie though!


I found the pattern and printed it from quirkygranolagirl.blogspot.com...just in case you'd like to make your own.  :)


I didn't follow her directions but instead opted to print out a main pattern, and a second on Stable Stuff stabilizer.  This stuff is pretty cool as it's actually made to stay in your quilt.  I cut each piece individually using my paper printed pattern as a guide for the colors (I wrote on each piece what I planned to use - dark, medium, or light fabric) and turned each piece using a glue stick.  I have already begun hand stitching the tiny pieces together in rows using black and white Invisifil.  I haven't chosen a background yet but I'm thinking solid black as I chose all calico prints for the blacks in the death star itself...so I think there will be enough contrast.


When I'm finished I will just wet the project and leave the stabilizer inside.  Water is supposed to dissolve whatever it is that makes this stabilizer stiff...and leaves a thin polyester fiber behind.  Kind of cool!  I will share a little more of how this process goes later on.  I have heard it is also wonderful used as a stabilizer for paper piecing!  I particularly like how it has the potential to leave fullness in applique that you might not get otherwise...or without adding some kind of trapunto.  Oh how we quilters love possibilities!

In other news that I am super excited to share...I finally got a Gravity Quilt to work on!  Woohoo!!!!  I'm so excited about this one.  It belongs to a semi-local gal who discovered me through my neighbor.  Well my oh my she's a modern quilter who has an affinity for Jaybird Quilts patterns so I'm pretty excited to see what more she has to send my way.  I get a lot of traditional quilts...which I absolutely love...but it's always fun to play around with something different too!


If I don't get a chance to before the holiday - have a Merry Christmas and a Happy New Year!  Lots of exciting things to share with you in the next year...and I cannot wait!


Until then...may the force be with you on your quilting journey!  :)

Sunday, December 13, 2015

Long Arm Quilting Policy Amendments

The new year is fast approaching and after nearly three years in business I am finally making a few policy changes to keep quilting for you at an affordable rate and run my small business more effectively! 

Changes to note are:

Effective February 1st, 2016 New Thread Fees

- $5 flat thread fee for all edge to edge free hand or pantograph quilting will remain the same.
- $10 flat thread fee will be instated for all custom quilts with unlimited thread changes for in house thread.  This may include anything from Bottom Line, Glide, Omni, and some specialty threads already in house.
- Specialty thread fee will be quoted individually for quilts requiring special threads not normally carried in house.  These threads will include but are not limited to Invisifil, metallic, variegated threads, and silks.

Effective Immdiately
Quilting schedule will be limited to custom quilting only. 
Because the majority of the quilts on the current schedule are custom quilting orders I will continue to schedule quilts in this fashion.  For most customers in this regard nothing will change.  If you have an edge to edge quilt you may schedule to drop off or ship out immediately and it will be completed on a first come first serve basis as there is availability in my schedule.  Because time frames for custom quilting are estimated and not guaranteed (unless specified in your contract) I often have "dead time" in between quilts.  To avoid this I will accept edge to edge quilts to fill out the schedule and improve wait times.

If you prefer to send a batch of quilts all at once on a scheduled time frame you may still continue to do that.  This helps folks who like to quilt during the year and send a box to me at the end of the year.  I will not require a deposit to put you in an estimated time slot, and reschedules/cancellations will not be penalized, but I do please ask that you give advance notice if you will not be sending your quilts as scheduled.  The schedule currently provided will continue to be used as a tool to prevent a large back log of quilts in house and to help both client and quilter plan ahead.  If you are late to ship your scheduled quilt please note that another may be loaded in its place and your quilt will be worked on at the soonest availability upon its arrival.

Rush quilts will now be accepted based on availability in my schedule for a $50 fee.  Contact me directly for more details.

Thank you so much for your continued support and business!  Many of you have been with me since the beginning of this amazing quilting journey and I am thrilled and honored to still be your chosen machine quilter.


Happy Quilting!

Monday, November 23, 2015

Ellen's Woodland Quilt and Impermance is Going to Road to California!

Well I don't know about you but I am beyond ready for Thanksgiving!  Turkey and family and a break from social media for a day.  I have a tendency to get glued to my phone during the day laughing and connecting with folks.  Facebook seems to be the hub of the quilting universe so of course, being that quilts are kind of like, my life, I spend a lot of time there connecting with folks I might otherwise not ever have the opportunity in "real" life.  I don't know if there's something in the water or if it's because it's an election year in the US, but boy oh boy is social media lit up....and over just about everything.  :)  This quilting girl will be lurking at the quilt photos but I think I may need therapy to work me through any of the discussions happening there at them moment.  So you may find me a little more chatty here on the blog for the time being.

I just finished Ellen's Woodland quilt.  Didn't it turn out lovely?  I sure think so.  I really had fun quilting this.  Seems the latest quilts have been super densely quilted so it was fun to lighten it up a tad but still get such great design and texture.  This is the style of quilting that really brought me to quilts in the first place...so this was just an absolute pleasure from start to finish.


We went with one layer of Hobbs 80/20 for this quilt.  In the top I used an Ivory shade of So Fine by Superior Threads and Omni in the bobbin.  There was no mystical magical reason for the thread combination other than they were shades I had that worked best with the quilt as a whole.  Turns out the So Fine really did a great job creating delicate texture in those printed fabrics. 


Photographs can be deceiving - on one forum where I shared photos of this quilt it appeared to some viewers that the shirting/ticking print stripe blocks were left unquilted.  They are in fact quilted - with very simple lines.  I think any design would have been difficult to show in those spaces, but the lines in particular like to stay hidden depending on the angle the camera points.  Look closely and you can see not a single block was left unstitched!  :)


We went with cross hatching here in the white negative space behind the applique.  I think it looks so nice. This quilt isn't frilly at all so though I love feathers I wanted to keep from getting too feminine in this area.  I'm really happy with the outcome and I think my client is too!  (Yes, if you close up you can also see that the markings are still there.  I pre-mark all gridlines before I load up the quilt top.)


Again, the applique's are large but I didn't want to stray from the simple feeling of the quilt.  I think we did alright!  :)


Of course I always love to show neutral backings.  I was a bit nervous every backtracked line would look awful with that thick Omni thread but surprising it looks really lovely!  Wheew!  That's a huge sigh of relief to me!  The backtracking is well hidden and the blending thread really makes this quilt look like it is double sided.


So much fun to work on.  Thank you Ellen!  I have a few projects in the works that cannot be shared - but soon!  Really looking forward to spilling the beans!

For now I'll leave you with my bit of exciting news for the holidays...my quilt Impermanence is GOING TO ROAD TO CALIFORNIA!  I found out last week that it was accepted to this highly regarded juried national quilt show.  I'm thrilled.  Over the moon!  This will be the second quilt I've had juried into Road, but the first that was a real bonafied quilt made just to show.  I'm kind of starting with one of the biggest and most difficult for the first show, but it just worked out that way.  The biggest thrill is to "hang" with all my quilting rock star idols.  That is a really amazing feeling.  No photos of the front online for now as I'm saving the "reveal" for after show judging.  I wish so badly I could make it out there - but I have no doubt that one of these days I will.  If you're going to Road and see my quilt there...be sure to say something!  I will be tickled to know you saw it!  :)


Thursday, November 12, 2015

Barbara's Quilt Finished


A little late to sharing, but yay!  Barbara's quilt is finished and by now should have made its way home.  :)  I had so much fun quilting this - and I know I say that frequently but I really do love my job, and I really DO enjoy quilting quilt tops up for folks!


Barbara had been concerned that her top might be too plain for fancy quilting - I'm so glad she decided to send it along despite that concern.  The truth is, for most of us machine quilters who do a lot of custom work, the simply pieced tops are our FAVORITE.  The ones that have a lot of negative space give us the most opportunity for creativity.


Barbara sent along a few photos of quilting she had see online and requested something with a similar feeling.  I can at times recreate quilting, but often times it works best for me to see a photograph of what you like and then create something new and fresh but with a similar feeling or style.  So that is what we did here.  Because the photo she sent was a tad difficult to draw directly on I opted to recreate her blocks and share with her my ideas for each section of the quilt.


I almost always ask for the tiniest bit of creative freedom even when a mock up is approved.  Just like any plan, sometimes ideas look better on paper than in reality.  Or, what happens more often with my work, is that I think up little details to improve on a design as I'm working.  Sometimes those little gems are what really set that quilting design off.


Barbara requested two layers of my Hobbs 80/20 batting.  For most show quilts I like to use wool layered over Hobbs, but I find that 80/20 in double layers quilts up very nice too.  Wool is slightly lighter and has a filling quality that 80/20 doesn't.


I used Glide in the top and Bottom Line in the bobbin.  I do love this combination for appropriate quilts.  As a general rule I prefer a fine top thread for dense quilting - but this quilt in particular has dense and medium/light areas of quilting and I wanted the heavier thread to compensate in those areas with less quilting to give it a more even feeling.


All in all I am very please with how this one turned out!  I think I always spot a few things with each quilt that I will do slightly different on the next...but I still think it turned out quite drool worthy!  :)

Friday, October 23, 2015

Barbara's Quilt in Progress and Red/Tan Quilt Update

I got a little bit of a late start on Barbara's quilt last week but I wanted to share a few progress photos.  I absolutely adore the colors of this quilt! 


Barbara really wanted feathers so I tried to include them in her quilt.  She asked for double batting - so I am using two layers of Hobbs 80/20 with Glide thread on top in Sand and Bottom Line in the bobbin...I'm not sure the exact shade but a tan/kakhi color to blend with the backing.  I generally like to use the same thread in the top and bobbin, but this was an instance where two different threads really worked.


I had to watch the threadyness of the feathers below with the high contrast gold on purple...it doesn't sparkle here but in true light it is very elegant and shiny!  I really love how it is turning out.

 
I am hoping to finish it up over the weekend or early next week at the latest and as always I will show pictures.  Doreen asked me to share the sizes of quilts more and I will make an effort to do that!  I want to say most of the quilts I work on are Queen or King sized.  I do get some smaller quilts now and then, but I have a few good clients who really love to send me big quilts!  This one in particular is something like 86 x 96...I'm not sure the exact measurements but I have written them down somewhere.  I do know that the 96" wide batting I carry was just wide enough on the smallest side.  


Above is the progress on my red and tan quilt.  The block is called "Western Spy" in EQ6.  Yep, still using EQ6 over here!  It took me about six tries to get it right!  I had never heard of this block before or even seen it to my knowledge and now all of a sudden it seems to be popping up everywhere!  In particular there is a free pattern available for this block (and more) on Jinny Beyer's website.  In any case I love how it turned out!  Next week I'll be working on setting this on point and creating the stars that will frame this center block.

Tuesday, October 13, 2015

Jane's Border Creek Station Mystery Quilt


I finished Jane's Border Creek Station mystery quilt late last night and I'm so very pleased with the outcome!  I was a little nervous with the density of those pebbles but I think with the striped/piano key border quilting it turned out very even.  I love the texture this gives - Jane sent her own Tuscany Wool batting and it always quilts up beautifully.


The back is so pretty - almost a whole cloth in itself!  I really love neutral backings that show off the pretty quilting...they also show off the mistakes too...but let's just pretend I live in a world where I never ever EVER make those!  :)


Above is the full view photo that Jane sent me - along with a bare bones mock up I sent her.  I had an idea of what I wanted to do - and I wanted to get her opinion on pebbling before I went through and drew pebbles all over this quilt!  Luckily she is a gal who enjoys pretty pebbles just like me!


I did one border with this flourish so that it looks as if the quilting is traveling out and around and framing the quilt from this one point.  I really love it!


I used darn near a full 3,000 yard cone of Bottom Line thread on this quilt - fresh and new from the package!  There might be enough left on the cone now to fill two or three bobbins...those pebbles take up a lot of thread.  


I'm so happy with the way this one turned out.  I've got the feather itch now though - and good thing too as the next quilt is going to be full of them!

Wednesday, October 7, 2015

Cindy's Quilt Quilted with Deja Vu Pantograph

I think I missed sharing this one!  I quilted Cindy's beautiful Fat Quarter Shop sampler quilt with one of my all time favorite pantographs - Deja Vu by Patricia Ritter and I.  This awesome top has hints of Lori Holt's Farmgirl Vintage...which is on my Christmas list!

Below is a shot of the top pre-quilting.  I love the difference the texture of quilting makes.  I truly believe that old saying that "the quilting makes the quilt".  It really does bring a beautiful top to life.


Love this panto so much - it's a pretty easy one to follow and it just gives such great movement and is so classic and elegant on anything it goes onto.   I believe I used Glide thread by Fil-Tec in Wheat and Hobbs 80/20 batting -single layer.


Add caption
...and a view from the back below...doesn't my new stitch regulation make all the difference on the back?  Loving those tiny stitches!  :)


I'll leave you with a sneak at the quilt I currently have on the frame for my client Jane.  It's a Bordercreek mystery quilt from my understanding...and I adore everything about it.  I'm a bit behind where I wanted to be at this point with it but I still think I'll finish on schedule.  Football and cheer are over for the season so that frees up a significant amount of time three days out of the week!


Friday, October 2, 2015

A New Quilt - Reds and Neutrals

I currently have another of Jane's quilts loaded up and after a busy week of football, cheer, and now play rehearsals as one of my middle daughters has signed up to be a munchkin in the local high school production of "The Wiz" - I'm back to work.  I have made some small progress but will wait for this evening to share photographs when I'll have a much larger section to share.

Until then I'll show you my latest quilt.  Well - one of several.  I tend to work on multiple projects at once...at some point one grasps my attention long enough to finish, but often times it takes a couple of goes before I get to a point where I want to complete something!

This one has no name yet - and I'm simply calling it my "red and neutrals" quilt.  It was designed specifically for quilting since that is the part I'm truly passionate about.  I'm finding my own personal taste is for simple but pretty piecing that leaves a lot of creative room for decorative quilting.  I've been playing with a lot of non-traditional colorways as of late so with fall here and Christmas right around the corner, something red and warm really felt right.


I don't know if this will be the final color scheme but very close.  I'm leaning towards scalloped borders on the outer edge because I just love curves so much.

Because this quilt will be so much about the quilting I've already begun designing that aspect...here's a snippet:


I need to order thread but I have everything else on hand.  I think this one will be fun!  I'm planning for it to be just a wall hanging size as my dahlia was closer to a large wall hanging or even a baby/lap and I don't generally work very big.  I think the center portion will only be 25" or so?  I may make it a little larger to accommodate the quilting design but I just haven't gotten that far yet.

Well - the baby is a sleep - off to work!

Tuesday, September 22, 2015

Dahlia Progress - Just About Finished

Just a little sneak at my dahlia...I am in love!  I don't want to show a full on photo of the front until after it's been to a show...but I am not good with secrets and am really excited to share! So here is a little view of the back.  I have spent hours upon hours scouring every bit of this quilt and doing everything I can to correct any possible error I could find.  I learned so much but more importantly - I feel like my skills grew leaps and bounds.  I am so excited to begin on my next project. 


I still a few surprises planned for the back.  Binding will hopefully be happening tonight!  I am going to attempt something I haven't tried before.  I sure hope it turns out!

Friday, September 11, 2015

My Design Process and A Few Quilts Too...

I have been really slacking in the quality blog post department, for that, I apologize!  You can really tell when I get busy around here because my posts become more "show and tell" than posts.  Well, I'm not lacking in work - and that is a true blessing - but I do want to make an effort to share a little more about my process here.

When I talk to a potential client for quilting it generally begins with a photograph.  Sometimes that photo is after the quilt is in my possession, but because I work from home and have very little open space for photography I love when folks send me a photo before hand.  Here's a photo Darlene sent me of her Seven Sisters quilt when she asked me to quilt it for her:


The next phase in the process for me is planning design.  Sometimes an idea comes to me right away - maybe I see something in the patchwork and know a quilting element that will really work well immediately.  Other times I scour books, magazine, the internet, or my own past work for inspiration.  Even more frequently I take that photo and simply play with ideas until I get hit with something that works.  Something that is REALLY important to me is to come up with my own designs.  I may borrow elements or draw from others, but I want my own work to be unique to me.

 That was really the case with this quilt of Darlene's...she always brings me the most unique designs.  I played this one for quite a while before something I really liked hit me.  If I'm really lucky - my clients like the idea too!


I use a Wacom Bamboo tablet to draw my designs onto the photograph using software that came with the tablet set.  If you do a lot of custom work it is a fantastic tool.  There are times when something I've drawn up doesn't play well when I actually get to the quilting - so I do try to leave some room for changes.  Lucky me this time everything went very smoothly!  Here's the finished quilting - not a wonderful photo I'm afraid because I took the photo late at night just to have a few before I sent the quilt home early the next morning.  In a perfect world all of the quilts I work on will have a photo shoot before they go home.  :)


I shared this quilt belonging to Wanda in my last post but I'll show you how I used this process for her quilt too - and do so for just about all of the custom quilts I work on.


It REALLY helps me to envision the quilting before I quilt it.  Planning each and every quilt can be tedious but it is tremendously helpful in not only communicating design to clients, but also seeing how things will actually look before I sew a single stitch.  I admire folks who can load a quilt with no plan start to finish and come up with something amazing - but that method just doesn't work for me!  I have way fewer "oops - that doesn't look very good" moments if I know ahead of time to some extent what the quilt will look like.  You can get an idea of what will work with the actual pieced design and what will not.

I never realized until now how fun it is either just to sort of see the before and after photos side by side!  I'm going to have to do that more!

Now something to really watch out for...is to be sure you can execute the designs you come up with.  Since you are "just drawing" on the computer it is very easy to get carried away...or forget the actual size of the patchwork you are dealing with and create a design that is ridiculously intricate.  This sort of happened to me with Jane's Dear Jane quilt:

 When I drew up the design for this quilt I wasn't thinking about the fact that her gray sashing was only about 1" wide by 6" finished...or something close to that.  Whoops.  She gently reminded me in an email and we decided to go with the intricate design despite the small sashing because it just worked so well.  But definitely creates a lot more work than it seems in real life than on a computer.  (I'd like to think the finished product was worth the extra effort!)

I have some more amazing quilts in store for you in upcoming posts.  I cannot believe some times the quilts people send to me - they are fantastic and so very beautiful!  I truly love my job!