Friday, September 27, 2013

Susan's Quilt - Finished! Oh and my hair is blue...

Yay!  I finished Susan's quilt yesterday - wheeeew this one took a little while!  :)


I stitched in the ditch around each piece of patchwork and each border and we went with a loftier two layers of batting.  Boy did that make for great texture!  Every small white area was filled with a unique design...


I have also been sharing pictures on Instagram and Twitter.  If you search #pumpkinpatchquilter you will find me!  :)

It's been CRAZY busy around here!  I'm so thrilled and honored that quilts are coming in - I can't tell you how great it is to know that someone has enough faith in you and your ability to send their quilt clear across the country for you to quilt.  I absolutely LOVE quilting - and it just means the world to me.

Exciting news other than quilts?  Well, I haven't worked on my projects AT ALL!  LOL  I did set aside some time to work tonight on my own projects and I did put myself into the schedule.  It just hasn't come around yet.

Oh yes!  I got to meet Darlene from I Quilt Scarlet and Gray!  What a sweet and talented lady!  She lives not too far from me and stopped by for our guild meeting on Monday night when we had Suzi Parron.  Boy was that a fun time!  Suzi was wonderful - she is a great speaker and she really  motivated many of the women to want to start our own Barn Quilt Trail.  I think my two tiny barns need a barn quilt don't you?  Here's a photo of Suzi with her books...I tell you she just seems like the kind of lady you could sit and chat with for hours!  :)


Let's see what else - I did do something silly!!  I dyed my hair!  BLUE!  Not all of it, just the ends...and I put it up in a bun or a ponytail on top of my head and you can't see it anymore...but it is cute!  Pretty blue to go with my pretty blue nail polish!  LOL

Here's the pretty and altered photo thanks to Picasa!


The real version!!!  I had worked all day and my daughter's eyes were just about to shut...not the best photo!!!  But, you can see my blue hair!  LOL  :)


What have you been up to?  :)

Tuesday, September 24, 2013

Squaring Up Your Quilt for Binding

There are a couple of ways that squaring up your quilt can be handled...as quilters are all different, of course there will be little things here and there that we each do differently.  If you will be blocking your quilt beforehand, you will handle this aspect just a bit differently than I show you here.

For those of you who are simply going to trim and bind after the quilting has been done - here is how I square up my quilts (a service that is included in the cost when you send a quilt to me for long arm quilting), to be sure that I trim away the excess backing and batting without distorting the shape of the quilt.

Squaring Up Your Quilt in Preparation for Binding

Depending on the density of the quilting you choose, you may opt to block your quilt before binding.  Blocking a quilt is simply wetting the quilt and in essence, stretching it back into it's original size and shape, and then letting it dry that way so the new shape becomes square, crisp, flat, and for the most part permanent.  The results of blocking will last for as long as the quilt lives - or until you wet it again.  So a blocked quilt is not one you would want to ever fully submerge in water again.

Often times with quilting our quilts tend to shrink up a few inches, and even more than a few inches when you get into very heavy, intense heirloom quilting.  Reasons that you would want to block your quilt before trimming away and squaring up would include wanting the quilt to hang straight in quilt show or on a wall or extreme distortion of the quilt due to heavy quilting.  For most quilts that are going to be used on a bed or sofa, blocking is not a necessary step - but I mention it here because it is a step you want to perform before squaring up your quilt and trimming away the excess backing and batting.

To Begin:

I like to use my dining room table, clean and washed of course, that way I can use my dining room chairs to support the bulk of large quilts, while the area being cut is laid flat along the length of my table.


Click on the image to enlarge if it helps you to see - here I am use a 16" square ruler along with my 24" long by 6" wide cutting ruler.  I usually begin in a lower right hand corner, just as you see above.

I am not concerned as much about the rest of the quilt for now, just what is under the ruler.  The cuts at the four corners of the quilt are the most crucial to remain square - as long as you succeed here, it will create a guide for you to use throughout the rest of the quilt.


Once you butt those two rulers up to each other and line up the edges of the top with your rulers...you will look closer and notice something like you see in the photograph below.  Areas of the quilt will line up nice and flush with the rulers...and then you'll have places like this one!


If I were to leave these areas and not correct them now, not only would my quilt not be square when I'm finished, but I also leave the risk of having an area where batting would show and the edge of the quilt would not be caught in the binding when it is attached.  So what you want to do is line the majority of the edge up with the rulers - and then gently tug on the quilt sandwich (that means pull gently on all three layers) and pull those areas flush with the rulers.  You are just very lightly stretching your quilt back into its original shape.


Sometimes I really have to give a good tug like this picture below shows, to get things aligned correctly.  You really want to be sure that this part is nice and neat, as it sets you up for the rest of the quilt.


See now after a little pulling and prodding everything lines up nice and perfect?


Now that everything is nice and flush with the rulers, it's time to cut!  Note that I am not cutting any away from the quilt top - but rather, trimming away the batting and backing fabric so that it will become the same size and flush with the quilt top.


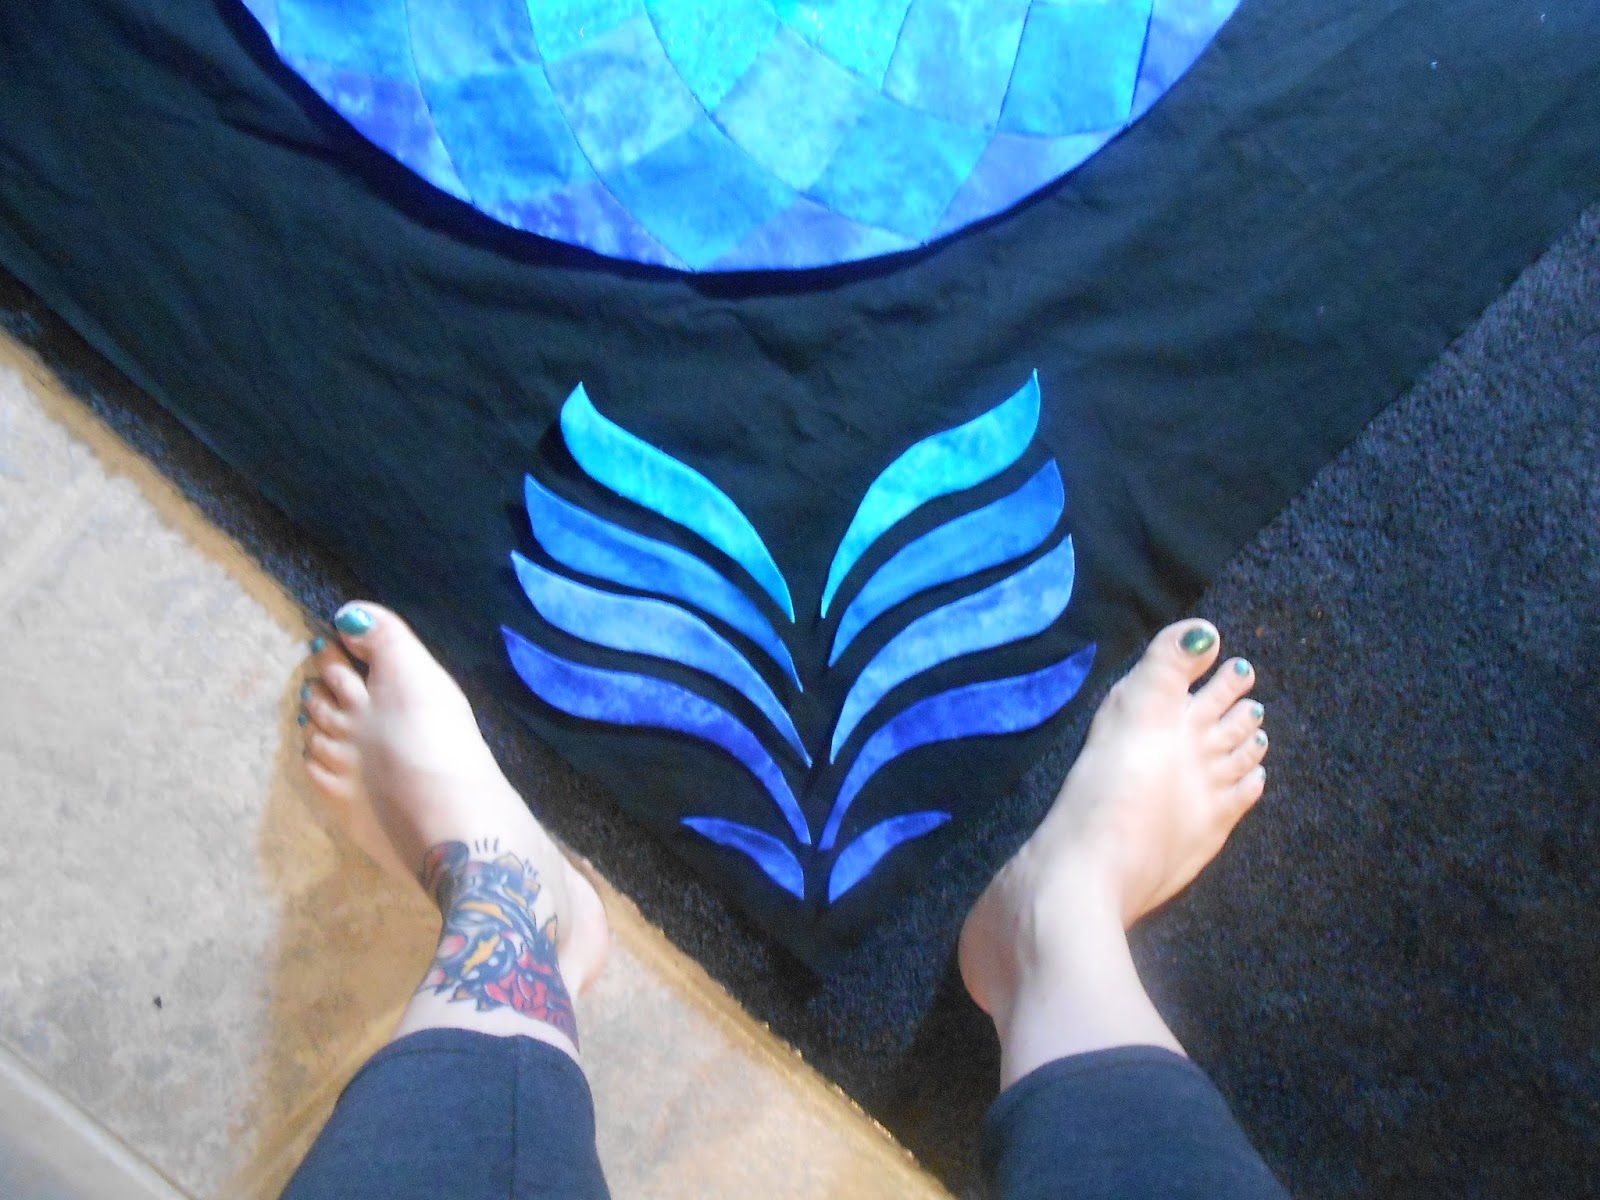
Now this was Cindy's beautiful and LARGE King Sized quilt - so that means there is a long way to go from each corner to corner.  For a quilt like this, that I don't expect to be hung, I would not use the square down the entire length - what I would do instead is keep using my long straight ruler until I get to about the center of the quilt, then grab my square again and using the piecing as my guide, I make sure we're still square and nothing is getting out of whack.


After a check with my square ruler I continue on with my long straight ruler down the edge of the quilt until I reach the next corner.  HERE again, we're at a corner...so whatever I do now is going to set me up for the next side of the quilt!  I want to be sure it remains square!  :)

I again butt my square ruler up to my long ruler and cut - then I turn the quilt, so I'm again working from the right bottom corner up...and start the whole process over from the beginning until I've completed trimming all four sides.


Another thing to note - there are three ways I generally trim a quilt and I leave it to you to decide what you want for yourself.  I personally like my own quilts trimmed flush with the top, but I often will trim 1/4" or 1/2" away from the top for ladies who like a wider or fuller binding.  All of that extra would be enclosed in the binding and not seen.


So that is how I square up a quilt!  If you have any questions leave a comment and I would be happy to answer them to the best of my knowledge!  If you square up a quilt differently I would love to hear your thoughts as well, and what methods you find give you the best results!

Wednesday, September 18, 2013

Cindy's Quilt - Feather Swirl

Wheew!  It's been a busy couple of weeks.  I finished another of Cindy's gorgeous quilts - to which she asked if I would quilt a feather swirl design in a similar fashion to that of Judy's from Green Fairy Quilts.  My feather swirl is not identical...but I'd say it's pretty swirly, and it's pretty feathery!  :)


Wowie zowie was this a big quilt!  So big I could hardly take a photograph!  LOL  I love how it turned out and I'm glad Cindy asked me to do this design!  :)

Friday, September 13, 2013

Quilting Schedule and Christmas Deadlines

Just a note about some things happening here in my tiny quilting studio!

I have set up a schedule system for quilting and you can see how busy I am quilting-wise by clicking on the "schedule" tab up top or by clicking here.  This schedule is tentative and fluid - I can only estimate how much time a quilt will take so some may take more or less time than I have allotted.  I will do my best to keep on pace and keep the schedule up to date as things change.

I have scheduled Sundays and Mondays as my "weekend" or family time - but if I find free time on those days I may work on quilts and in that case I will update the schedule.

Quilts with a Christmas Deadline:  

For us quilters, planning ahead is a necessity!  For most of you sending quilts here we rely heavily on trust of the post office or other mail carriers to deliver on or near the date estimated.  As the holidays approach you can expect the mail to take a little longer, so please plan ahead and get your quilt here as soon as you can if you are hoping to meet a Christmas deadline.  I will schedule quilts through the second week of November for delivery before Christmas allowing you time to attach bindings, labels, or tend to other finishing steps like blocking if necessary.  If you want an intense custom quilting or heirloom custom you will want to allow for approximately 1-2 weeks of quilting time depending on the density of the work after it arrives on my doorstep.

Quilting is on a First Come, First Serve Basis:

I quilt with a "first come, first serve" philosophy.  Most people are very understanding and often flexible - so at times I may squeeze in a quilt that has a time sensitive deadline over someone who isn't in such a hurry and I appreciate that!  Your understanding can make someone else's day!  :)  But, for the most part, your tops will be quilted in the order they arrive to my doorstep.  Please check the schedule tab to see what quilts I currently have in wait.  You will not be added to the schedule until your quilt is in the mail, scheduled for shipment, or physically here in my studio.

I do not accept rush orders at this time.  I apologize for the inconvenience!  :)


Monday, September 9, 2013

A Visit by Suzi Parron and Women's Art Retreat with Sandy Sheleberger

Two wonderful things happening near me that I thought I would share with those of you who are in the Northeast Ohio or surrounding areas!

My quilt guild, the Ashtabula Friendly Quilters, are hosting an evening lecture with Suzi Parron, author of Barn Quilts and the American Quilt Trail Movement, on September 23rd at 7pm in Saybrook, Ohio.  Suzi is going to be talking about her adventures and sharing some of the history of barn quilts.  This event is free an open to the public, we would love for you to join us!


Also I wanted to share that my talented friend Sandy Shelenberger is hosting a Women's Art Retreat September 27th through 29th in Austinburg, Ohio.  Sandy is a published and nationally recognized fiber artist - see some of her current works in Fiberart International 2013.  (She's pretty stinkin' fun to be around to boot!)  Spend three days with her exploring encaustic wax techniques and relaxing in a creative atmosphere.  She only has THREE spaces left so hurry and sign up!!


Saturday, September 7, 2013

I'm Pretty Sure I have ADD

The title pretty much says it all.  I'm pretty sure I have ADD.  Un-diagnosed ADD.  Self diagnosed ADD.  In any case I can't keep my mind on one thing to save my life.  Today I started this project...


I'm playing with the whole idea of making art quilts in the style of my paintings.  I want to do some actual painting on fabric but I'm broke!  I spent all of my fun money on supplies for my show quilt and now I need to get quilting to fund the rest of the quilt and Christmas.  (This is probably not the best business model, I know.  I'm in it for passion not profit people.  Though a profit would be nice!)


I don't know why the photos of my sketches came  out so - digitized!?!  They look really cool though don't they?


In any case this whole thing is actually for a blog hop I'm going to be in using batiks.  I was going to just make a dragonfly but then I had to get carried away and do more.  Because that's what I do.  LOL


The dragonfly wasn't enough so I added a sun and now I need to add a girl.  Me fifteen years ago?  Maybe.  A thinner, younger me.  Possibly a Hindu me because she does have a bindi.  :)


I sketched out the sun and the dragonfly in the same manner and assigned each section a number - I just forgot to take pictures of those.  I did make some changes as I went to make pieces that would be easier to turn the fabric under.  After assigning each piece a number I traced it onto freezer paper, then using the freezer paper as templates cut the pieces out of fabric.


I still need to turn under the tiny hair pieces today.  Everything but the girl is from batik fabric.  I'm thinking I'm going to play with shading her and her hair in a bit with my Shiva Paintstiks.  If I don't get side tracked that is.  :)


Friday, September 6, 2013

Progress and Stitched the Film


A lovely shot of my quilt progress...and my feet.


I took this photo late last night and have a busy day planned for today - so forgive me the poor quality!  Usually I try to play a little with light and angles to make it pretty and more interesting...but the last few posts have had to be quick ones I'm afraid!  The kids are back in school and you'd think that would mean more free time...but it seems I've been filling up that time with things to do.


I haven't made a huge dent in my quilt other than to get all of these applique pieces turned under.  There is still a bit more applique to do but these feathery doodads are done at least.  I realized after laying this out and taking a few photos for reference...I cut the center square TOO SMALL!  Ugh!  There won't be room for the quilting I've planned if I leave it as it is.  I'm going to see today after doing some chores if I can make do with the fabric I've already purchased - or if I'm going to have to buy more fabric.

I may not post a ton more of this quilt because I do want to keep it a surprise!  This is the center but it is not complete...and there are three borders and two more sections of applique to go - so this is really just a tidbit!  I really LOVE this quilt design - it is ME ME ME!!!  You know I'm planning to quilt the living daylights out of it too - and that will be fun.  :)


I wanted to throw this out there too - I recently purchased and watched Stitched the Film (it was actually part of my anniversary gift from the Husband) - if you haven't seen it, it is AMAZING!  It literally brought me to tears!  Those close to me know I've sort of gone through a bit of artist angst - I have always had an artistic bent but I'm really crazy about traditional quilting as well.  A series of events over the last year have really pushed me to focus what I'm doing more...I think this will help push me to grow and be productive.  I'm focused on meeting my two quilt show resolution - and maybe even more.  I want to share what I'm doing and push myself to go farther and beyond.  Nothing motivates you to do your best work like the thought of the judgement and scrutiny of other quilters!!!  LOL  :)

In any case - as things in my life always seem to do - a theme has developed and this film came into my hands - it is just SO relevant to my goals and dreams.  It is about three art quilters (the legendary Caryl Bryer Fallert, Holis Chatelain, and new to me artist Randall Cook) and their journey to Houston International Quilt Festival.  It really focuses on the divide between art quilters and traditional quilters - and I particularly relate to Randall Cook as I feel like he is more an artist like me in that he is somebody who loves art, has always been artistic, but came to art quilting from traditional quilts.  I especially loved watching him working on his quilt in the basement - as his sump pump went off.  YES!  I am quilting basically in my living room (our second living room pretty much taken over by quilting) with furniture and dividers keeping the kids and pets OUT of my quilting area!


Even if you aren't that into art quilting this movie is really wonderful and fun to watch!  It lets you in a bit on the judging process at the huge national shows and really captures the immense passion that we quilters share.

Linking up with Nina-Marie:

Creations by Nina-Marie


Hope you're getting much sewing done out there in blogland!

Wednesday, September 4, 2013

Quilting Design with a Tablet and Quilt Progress

My Husband and I recently celebrated our 12th wedding anniversary, and as a gift he bought me a Wacom Bamboo Fun Tablet to help me create my quilting plans.  If you are a machine quilter you may have heard of this neat gizmo.  I believe it was originally intended as a graphic design tool, but quilters are incredibly good and finding new and creative ways to do things.I first learned about using one of these tablets from Carla Barrett from Feathered Fibers, but recently the idea has really seemed to catch on.


Using a graphic design tool like the tablet really appealed to me as I do have some experience using Paint Shop Pro and other graphic design software.  Paint Shop Pro is almost like a paint program but with very advanced features - it would allow you to create layers with different elements that can be added or deleted as you go - or merged into one solid graphic.  I used to use this for amateur website design just for fun, but it has been years since I had the program and I had been really looking for something inexpensive that would aid me in my quilting design.  The Bamboo tablet came with a Corel drawing program that works specifically with the tablet - it is wonderful!


The tablet itself is really a drawing space - it comes with a pen that is used with the tablet and you can draw on a blank canvas or directly onto pictures.  This is amazing for someone like me so that I can actually draw a quilting design out onto a photo of your quilt to get an idea of what the quilting will look like.  Before, I was using paint with my computer mouse.  Having the tablet and pen cuts the drawing time down immensely, and also the software that came with it allows me the layers I had wanted so I can add and delete elements as I choose without starting a whole new session.


Loads of fun!  I love this little gadget for thinking up new designs and testing out quilting plans.  I used it recently to work up a plan for my "show" quilt.  Oh I cannot wait to share!!  This is the most intense quilting I will have done to date and I cannot wait to get started.

I have made a significant dent in the applique for my quilt - though the real kicker is the paper piecing that I haven't even touched yet.  I'm exhausted just thinking about it.  Still contemplating whether I will hand applique these or machine applique these down.  I like hand applique - but I have a LOT of work left to do.


So that's my show and share for today!  Hope everyone is doing well out there in blogland!  :)