Showing posts with label Custom Feathers. Show all posts

Monday, January 11, 2016

Cindy's Border Creek Mystery Quilt - Finished!

My first customer quilt of the year is finished!  I feel like I am light years behind everyone though as I have noticed that some of my quilting pals have already pieced entire projects this year!  I tell you when a quilter wants something done...

Well I have accomplished quite a bit but less on my own projects than I have others.  Cindy sent me in December her Border Creek Mystery after seeing what I did for Jane.  What is funny is that this quilt really stumped me when I first saw it.  I thought I might faint when I learned I would need to quilt another one - and Cindy was very specific she wanted different quilting!  I think we did well here.  There are some elements that are similar to Jane's quilt but I still think we achieved a very different feeling.  I knew immediately I would want to do piano keys in the outer borders as sometimes these very large quilts get quite a bit of excess fabric in the borders and by the time we get to quilting them they need something to help them quilt out evenly and neatly.  Feathers also do a great job at this but since the borders were very narrow and we already had done partial feathers I opted to again go with this design.


The dimensions of this top were 95" x 94".  Cindy loves to send me very large quilt tops!  I used So Fine! by Superior Threads in the top and Bottom Line in the bobbin, and Hobbs 80/20 batting in one layer.
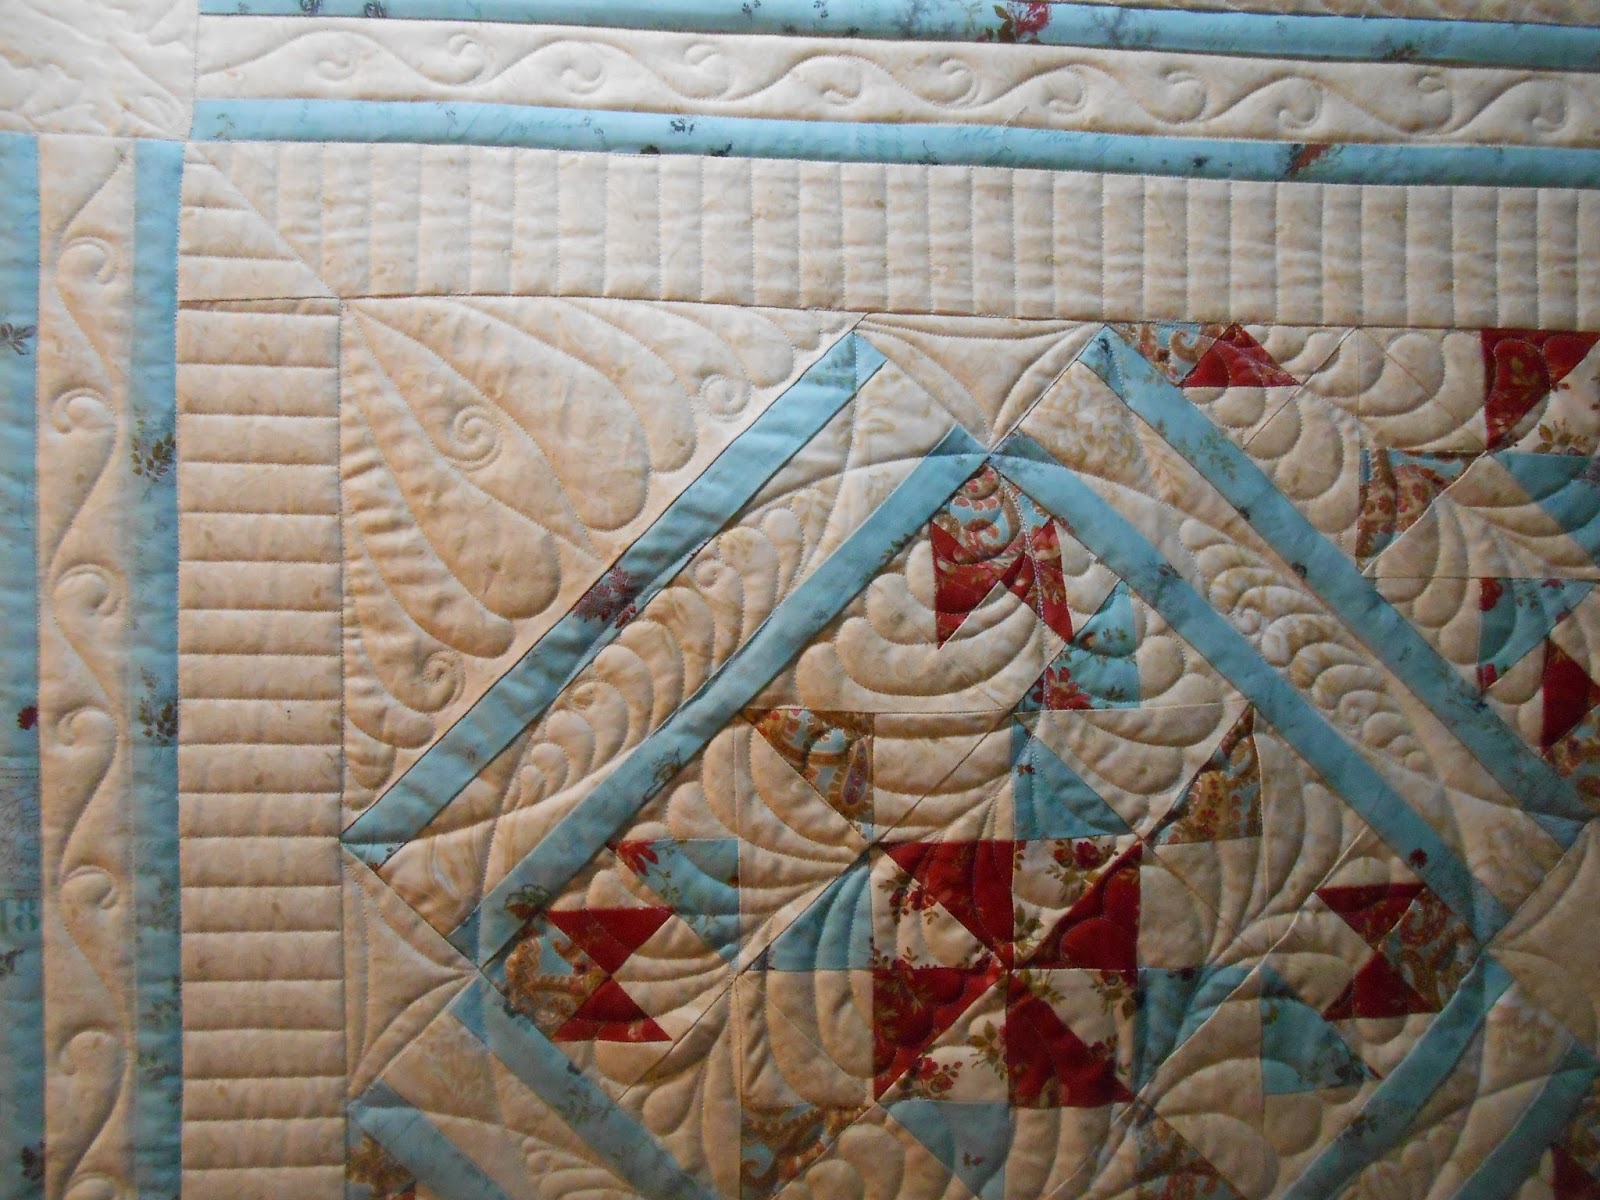


I get a lot of questions about ditching - how and when I choose to do this - and the answer to that is that it varies.  Usually I try to do what I think will look best with the quilt.  Most custom quilting I do has some degree of ditching. 


On this quilt I chose to ditch the framework of the quilt - which to me is the outer borders, and the small thin blue borders on the outer portion of the quilt. The body of the quilt then feels like one continuous piece with delicate framing of feathers and scrolls surrounding it.


There is always some amount of personal taste that goes into quilting - be it that of the quilt owner or that of the quilter to which the quilt owner has entrusted.  Just as we all have different and unique handwriting - we all have a different styles of quilting.  Feathers are definitely part of my personal quilt hand writing for sure!


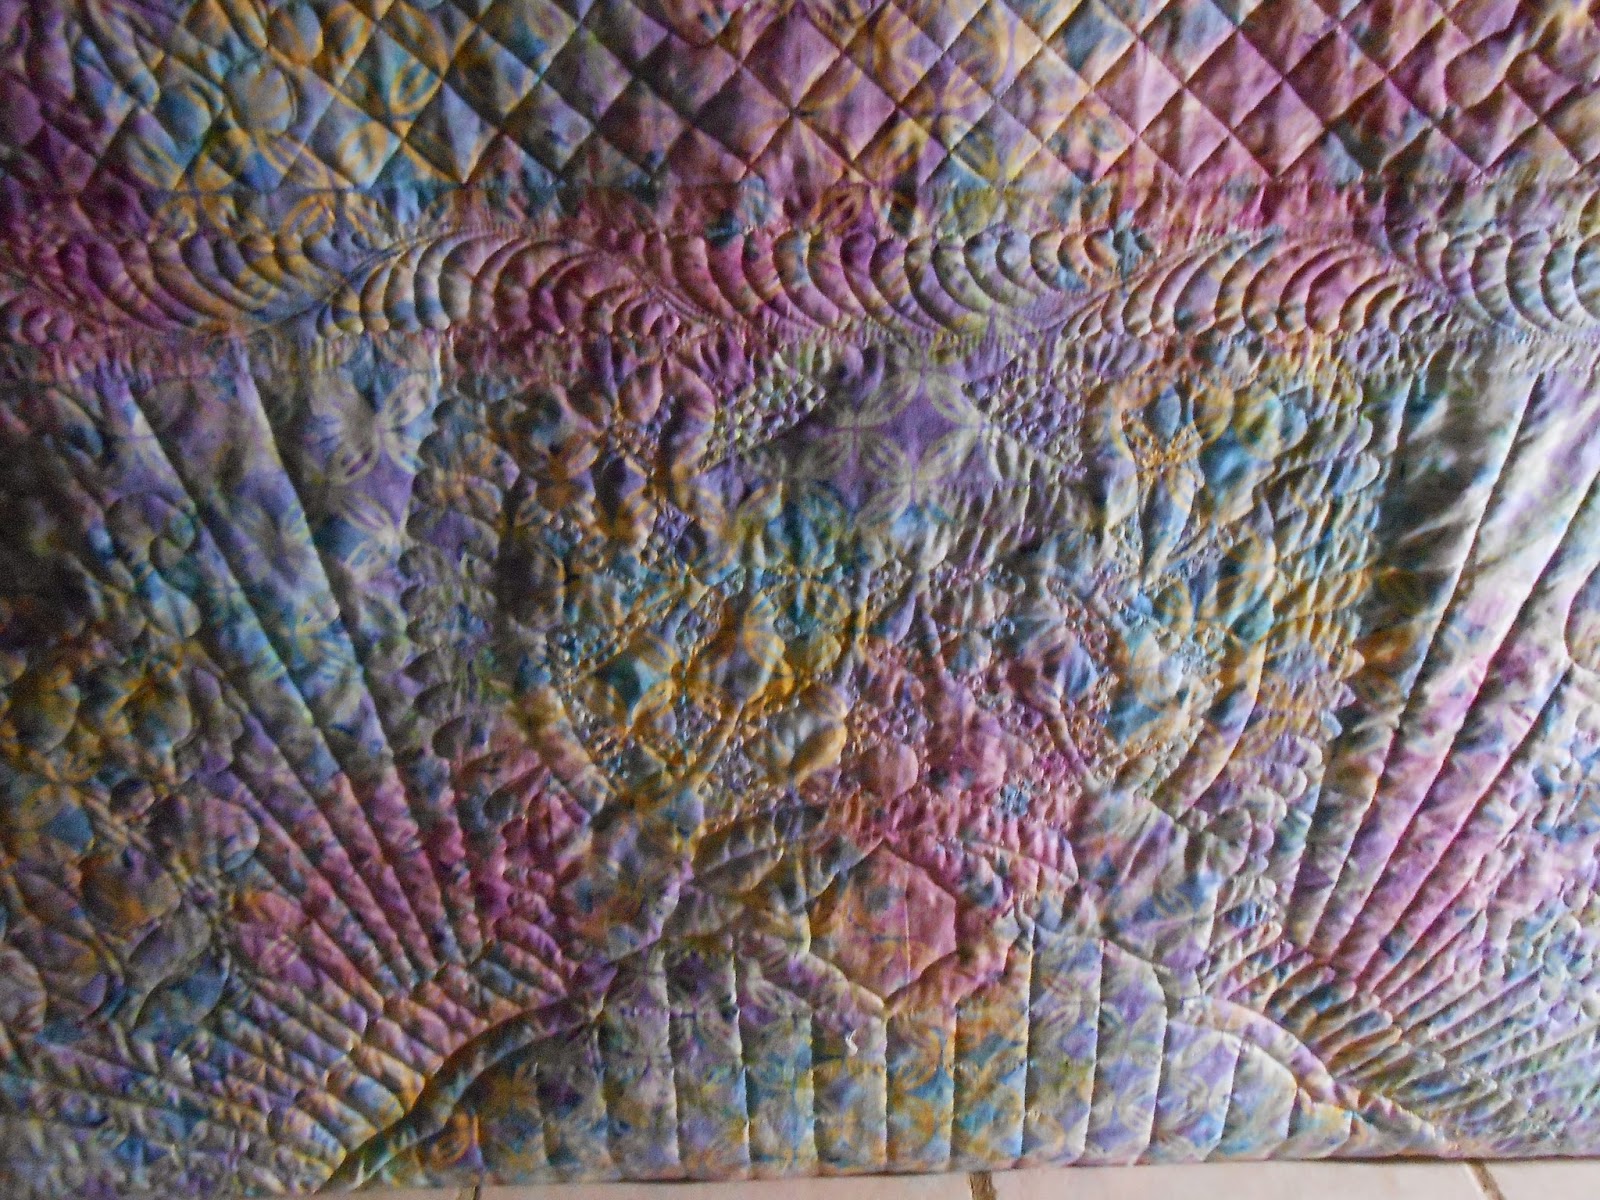
Choosing a backing fabric is something else to really think about, and I think a lot of folks forget this part.  I love to see the quilting on a beautiful neutral backing - but that is what I like.  I have encountered folks who do not like to see ANY of the quilting on the reverse and send along very busy backing fabric.  I think what Cindy sent along was absolutely perfect for this particular design plan and quilt.  What a lovely reverse she will have in natural light when laid across a bed.

Up next is another quilt for Ellen and what a stunning beauty it will be.  She has requested Nemeshing along with a custom plan we worked on together and I am looking forward to attempting this fun filler developed by Bethanne Nemesh.


After this string of really stunning traditional quilts I have in house, in wait are a string of modern quilts!  So it will be a colorful and interesting few months of work ahead! 

I hope your New Year is full of quilting already!

Thursday, November 12, 2015

Barbara's Quilt Finished


A little late to sharing, but yay!  Barbara's quilt is finished and by now should have made its way home.  :)  I had so much fun quilting this - and I know I say that frequently but I really do love my job, and I really DO enjoy quilting quilt tops up for folks!


Barbara had been concerned that her top might be too plain for fancy quilting - I'm so glad she decided to send it along despite that concern.  The truth is, for most of us machine quilters who do a lot of custom work, the simply pieced tops are our FAVORITE.  The ones that have a lot of negative space give us the most opportunity for creativity.


Barbara sent along a few photos of quilting she had see online and requested something with a similar feeling.  I can at times recreate quilting, but often times it works best for me to see a photograph of what you like and then create something new and fresh but with a similar feeling or style.  So that is what we did here.  Because the photo she sent was a tad difficult to draw directly on I opted to recreate her blocks and share with her my ideas for each section of the quilt.


I almost always ask for the tiniest bit of creative freedom even when a mock up is approved.  Just like any plan, sometimes ideas look better on paper than in reality.  Or, what happens more often with my work, is that I think up little details to improve on a design as I'm working.  Sometimes those little gems are what really set that quilting design off.


Barbara requested two layers of my Hobbs 80/20 batting.  For most show quilts I like to use wool layered over Hobbs, but I find that 80/20 in double layers quilts up very nice too.  Wool is slightly lighter and has a filling quality that 80/20 doesn't.


I used Glide in the top and Bottom Line in the bobbin.  I do love this combination for appropriate quilts.  As a general rule I prefer a fine top thread for dense quilting - but this quilt in particular has dense and medium/light areas of quilting and I wanted the heavier thread to compensate in those areas with less quilting to give it a more even feeling.


All in all I am very please with how this one turned out!  I think I always spot a few things with each quilt that I will do slightly different on the next...but I still think it turned out quite drool worthy!  :)

Tuesday, October 13, 2015

Jane's Border Creek Station Mystery Quilt


I finished Jane's Border Creek Station mystery quilt late last night and I'm so very pleased with the outcome!  I was a little nervous with the density of those pebbles but I think with the striped/piano key border quilting it turned out very even.  I love the texture this gives - Jane sent her own Tuscany Wool batting and it always quilts up beautifully.


The back is so pretty - almost a whole cloth in itself!  I really love neutral backings that show off the pretty quilting...they also show off the mistakes too...but let's just pretend I live in a world where I never ever EVER make those!  :)


Above is the full view photo that Jane sent me - along with a bare bones mock up I sent her.  I had an idea of what I wanted to do - and I wanted to get her opinion on pebbling before I went through and drew pebbles all over this quilt!  Luckily she is a gal who enjoys pretty pebbles just like me!


I did one border with this flourish so that it looks as if the quilting is traveling out and around and framing the quilt from this one point.  I really love it!


I used darn near a full 3,000 yard cone of Bottom Line thread on this quilt - fresh and new from the package!  There might be enough left on the cone now to fill two or three bobbins...those pebbles take up a lot of thread.  


I'm so happy with the way this one turned out.  I've got the feather itch now though - and good thing too as the next quilt is going to be full of them!

Friday, May 1, 2015

Darlene's Feels Like Spring Quilt Finished!

I absolutely loved quilting this one!  It was so much fun thinking up different backgrounds for each of the appliqués.


The pattern is called "Feels Like Spring" by Smith Street Designs.  Darlene Gerber is the owner and top maker.


The quilt was quilted entirely with Bottom Line Thread by Superior Threads.  It is quickly becoming my go to thread for custom work.


We used a layer of Hobbs 80/20 batting layered with Hobbs Tuscany Wool on top to make the appliqué's pop.


Because of the intricate detail of the embroidery on the appliqué's there is actually NO quilting on the flowers themselves.  Luckily, there was so much detail around the small leaves and petals that I was able to squeeze in and still give a close tightly quilted feeling.   The use of double batting and a lofty wool on top helped to keep the unquilted areas very full against the densely quilted bordering designs.


This was such great fun to work on!  I'm going to guesstimate 50-60 hours quilting time with two weeks on the frame.  I moved a turtle's pace truly only finishing three or four blocks some days, only because of the wear on me with carrying baby Olivia.  :)  I think I would have moved much faster if I weren't big as a house!
I didn't start out intending on adding quite this much detail - but it was so fun and turning out so lovely I kept adding.  I think the finished quilt is fantastic!  I'm so grateful to have had the opportunity to work on such a lovely quilt.

Now I am off until July but I will still be posting my own work.  I am looking forward to a few months off to enjoy baby and work on my own projects!

Thursday, April 16, 2015

Darlene's Kaleidescope and A Feathery Floral in Progress

Getting a lot of finishes done lately - I'm getting kind of excited at the idea of having a whole month just to clean house, organize, and work on my own quilt.  Baby comes in about six weeks!

Here's a few shots of Darlene's Kaleidescope quilt...


I had a lot of fun quilting this little one.  I want to say it's only 40 x 40?  I was able to get it done in one work day which is rare unless I'm doing an E2E or pantograph!  :)  I used Glide thread which I love for things like all overs and also straight line quilting.

Her next quilt is a lovely floral appliqué that we decided to go a little more detailed with.  For this one I'm using all Bottom Line thread in both the top and the bobbin.


More photos to come as this one will likely take me a little longer...not only is it a large quilt but there will be lots of pebbling and detail work.  I'm looking forward to it though - it feels very very summery!  :)

Saturday, August 30, 2014

Barbara's Roseville Album - Finished!

I am thrilled to share that I am finally finished with Barbara's Roseville Album!  Here are a few photographs...


I think it turned out really fantastic - I am thrilled!  I have a few small details to touch up before it returns home - it has been a HUGE undertaking but I'm thrilled with the results.

 I used gray and white Invisifil thread by Wonderfil for the entire quilt...I went through five water soluble markers.  Marking the quilt top took me an entire day - around 10 hours - and another day to day and a half to bury threads, remove markings.  I'm running on coffee and diet coke at the moment so it's time to take a rest!!!  Wheew!  But I was thrilled with this so I had to share.  :)