Showing posts with label Custom Long Arm Quilting. Show all posts

Wednesday, April 20, 2016

A Few Client Quilts

So many things are happening in my world I don't even know where to start!  First, I have another article coming out very soon in Machine Quilting Unlimited.  This time I wrote about using pantographs, focusing quite a bit on ways for those of us hand guided quilters to use them more efficiently.  Some day I completely want a computer for my machine, possibly a second machine too - but for the time being I'm quilting those babies out as carefully and neatly as I possibly can by hand...with good results I might add that folks often cannot tell is hand guided!  That's definitely the goal for me.  :)

Here's one panto quilt I just finished up for my client Jane...the pattern is Scenic Bypass by Antler Quilt Designs.  It measures approxmiately 86" x 66" and we used Deja Vu by Patricia E. Ritter and myself for the quilting, Glide thread in Light Olive, and one layer of Hobbs 80/20 batting.


Originally Jane had requested a deep purple shade of thread.  I have a handful of purple thread on hand but none looked quite right so instead I suggested this pretty deep green to pull from the green in her fabrics, and also the green leaves on her backing fabric.  I think it turned out so great, now I cannot imagine if we had used another color!  I really like the blending look of the green in the lighter fabric, the only other shade I think would have looked equally as nice would have been a golden/honey color.


People often ask me what to use for their backings.  My suggestion is generally a medium tone (unless your front is all very dark fabrics) that will look good with whatever color thread is going to be predominant on the front.  I tend to use the same or similar shade thread in the top and bobbin, so you want something that will compliment the thread used to blend with the front.  Many times folks like to send an all white or all dark colored backing - this is fine so long as there isn't going to be a lot of backtracking and you don't mind high contrast thread against it.  No matter how impeccable my backtracking or how thin the thread, a couple of passes in white against navy blue is just not going to look as nice as a lighter blue.  While the quality of the quilting is extremely important, I have really learned that color choice and quality of fabric matter just as much for the best possible outcome.


In the case of Jane's beautiful quilt, I think the green really worked beautifully with both the front and back of the quilt - she chose well!  :)

Another recent finish that I have been itching to share is my client Michele's Gravity quilt!  Michele is the cousin of my neighbor and I'm super excited about the quilts she is going to have me work on as she is a big fan of solids.  To me that means I get to have some SERIOUS fun! 


I had been just WAITING for someone to send me one of these! I'm not sure if just quilting it has satisfied my urge to make one or not...there never seems enough time to make all that I want to make, and because I really get my kicks from making and entering show quilts I'm not sure how soon I'll actually get to it. This certainly was fun to play on though!


We used one layer of Quilter's Dream Cotton Select for this one as this is Michele's batting of choice.  We opted for Bottom Line thread in the top and bobbin in a light gray shade.  Her backing was a black and gray print so much of the detail shows best on the front.


I just cannot get enough of those colors!  There were a lot stretchy bias edge triangles to the outer edge of the quilt with this one but they did not give me much issue.  Luckily much of the quilting allowed for me to pull and extra fabric in and (hopefully) we tucked it hidden pretty well.  No pleats or tucks but some creative quilting happened here.  :)


The Gravity quilt pattern (by Jaybird Quilts) measured approxmiately 96" x 95". 

One more show and tell piece...this is Wanda's quilt.  The center pattern is called a Stargello and she created it using a Stargello ruler tool - the borders were added by guild members to create one beautiful and awesome quilt!


This one was somewhere around 85" x 85".  We used two layers of batting - I believe she sent Quilter's Dream cotton and I used a layer of Hobbs 80/20 overtop.  This one I approached a little differently.  I stitched in the ditch the entire quilt first.  Then I went back and filled in.  I have been hesitant to do that with quilts that do not have a significant amount of piecing in the past but I really think it made for a neater, crisper finish.
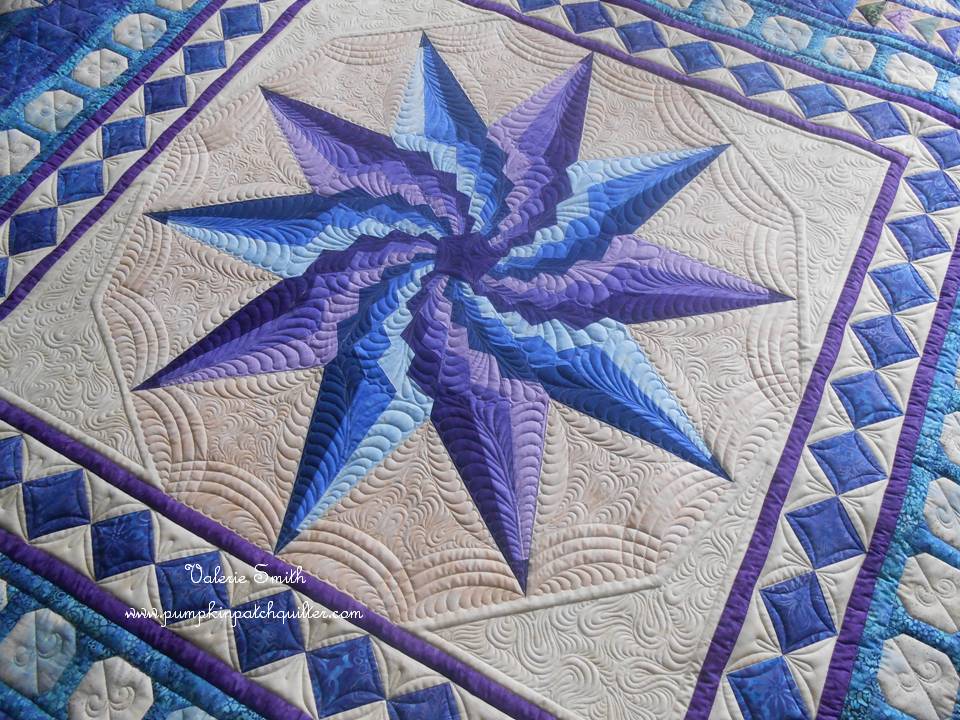

My favorite part is the quilting in this open space around the star...


I also really enjoyed quiltnig in the snowball border!  The sort of curly cue design was something different but really effective I think.


The back is where I think stitching in the ditch prior to adding filler quilting really made a difference.  If you look carefully the ditched lines show little to no backtracking - not because there wasn't any backtracking but because it was very little.  Long continuous lines were done all at once in one long smooth motion - where as often when you ditch as you go, things don't always line up and look neat.  The difference is small - but overall it really adds to the polished look of the quilting.


I think there are always things you look at after and say, "oh, I could have done that better or differently".  I'm pretty pleased with this one!

I have been so fortunate to work on some very lovely quilts lately!  I have started a new show quilt and I'll get to that in an upcoming post, along with some of my thoughts on MQX.  I did not place this year but I'm happy to say I DID receive a teacher's ribbon from Angela Huffman!  How exciting!

More to come...happy quilting!

Monday, January 11, 2016

Cindy's Border Creek Mystery Quilt - Finished!

My first customer quilt of the year is finished!  I feel like I am light years behind everyone though as I have noticed that some of my quilting pals have already pieced entire projects this year!  I tell you when a quilter wants something done...

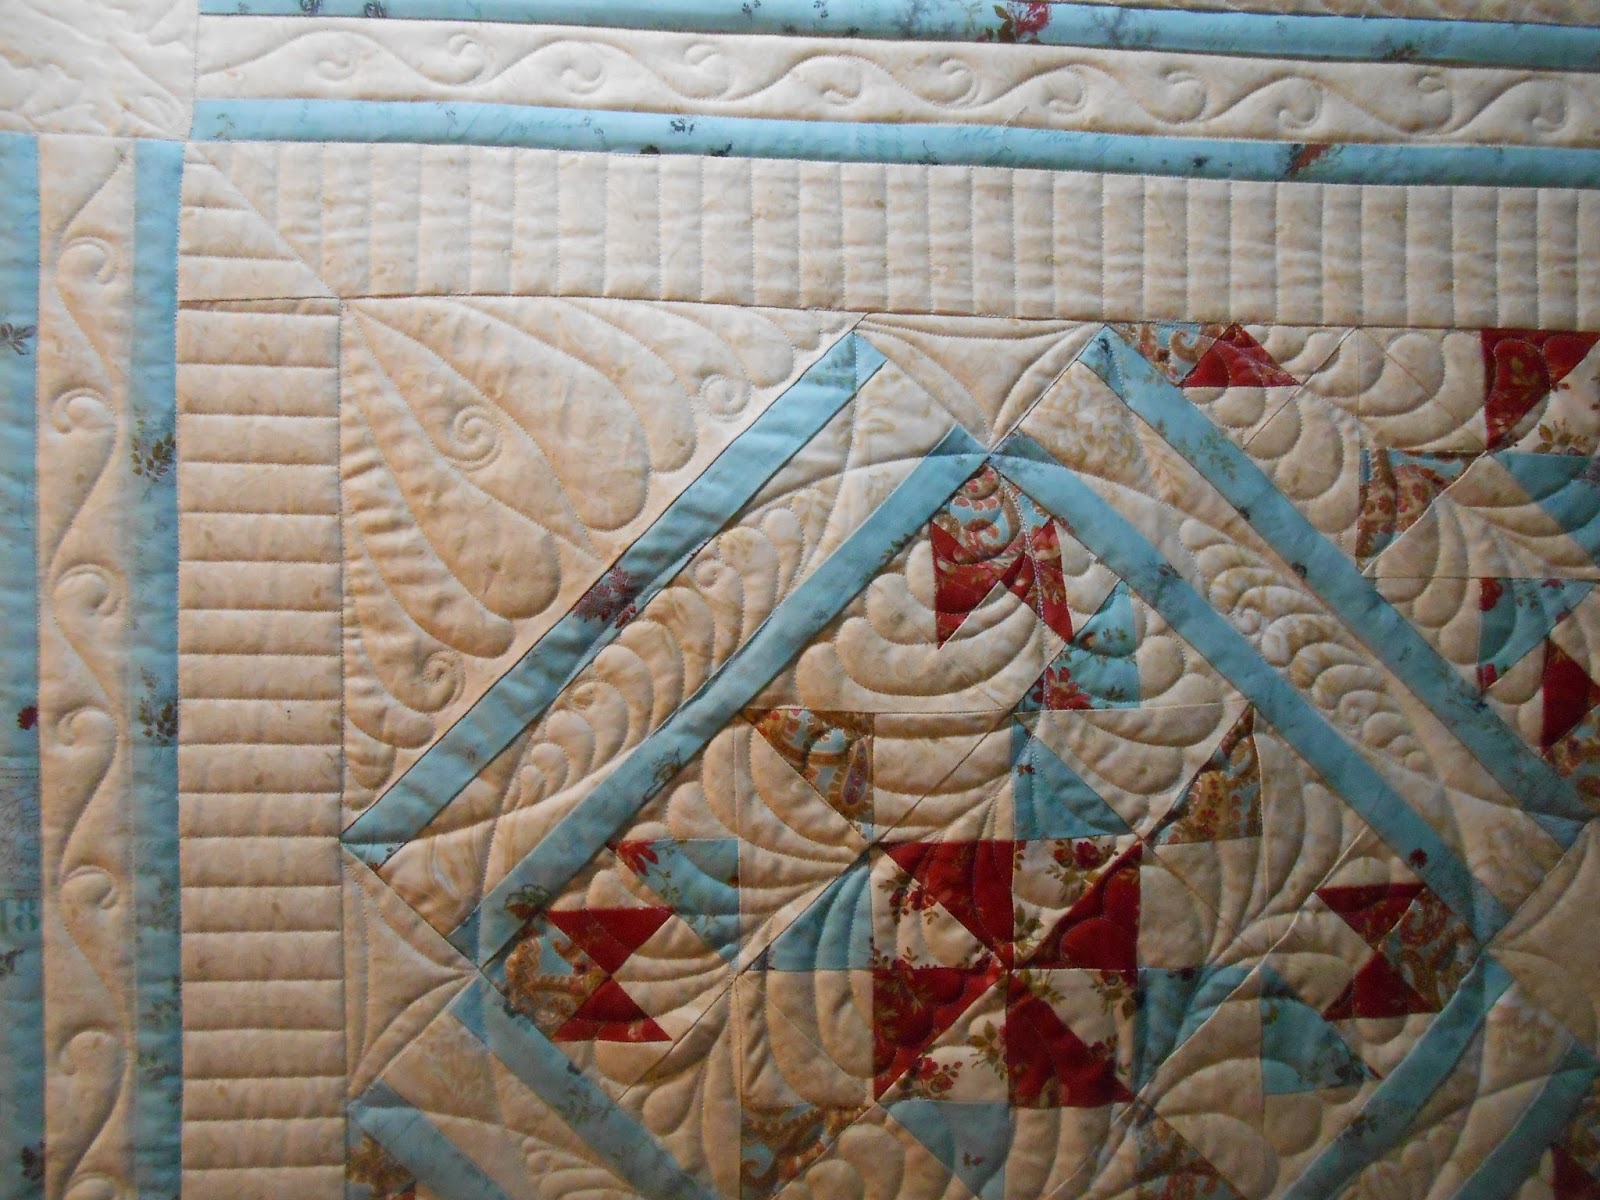
Well I have accomplished quite a bit but less on my own projects than I have others.  Cindy sent me in December her Border Creek Mystery after seeing what I did for Jane.  What is funny is that this quilt really stumped me when I first saw it.  I thought I might faint when I learned I would need to quilt another one - and Cindy was very specific she wanted different quilting!  I think we did well here.  There are some elements that are similar to Jane's quilt but I still think we achieved a very different feeling.  I knew immediately I would want to do piano keys in the outer borders as sometimes these very large quilts get quite a bit of excess fabric in the borders and by the time we get to quilting them they need something to help them quilt out evenly and neatly.  Feathers also do a great job at this but since the borders were very narrow and we already had done partial feathers I opted to again go with this design.


The dimensions of this top were 95" x 94".  Cindy loves to send me very large quilt tops!  I used So Fine! by Superior Threads in the top and Bottom Line in the bobbin, and Hobbs 80/20 batting in one layer.


I get a lot of questions about ditching - how and when I choose to do this - and the answer to that is that it varies.  Usually I try to do what I think will look best with the quilt.  Most custom quilting I do has some degree of ditching. 


On this quilt I chose to ditch the framework of the quilt - which to me is the outer borders, and the small thin blue borders on the outer portion of the quilt. The body of the quilt then feels like one continuous piece with delicate framing of feathers and scrolls surrounding it.


There is always some amount of personal taste that goes into quilting - be it that of the quilt owner or that of the quilter to which the quilt owner has entrusted.  Just as we all have different and unique handwriting - we all have a different styles of quilting.  Feathers are definitely part of my personal quilt hand writing for sure!


Choosing a backing fabric is something else to really think about, and I think a lot of folks forget this part.  I love to see the quilting on a beautiful neutral backing - but that is what I like.  I have encountered folks who do not like to see ANY of the quilting on the reverse and send along very busy backing fabric.  I think what Cindy sent along was absolutely perfect for this particular design plan and quilt.  What a lovely reverse she will have in natural light when laid across a bed.

Up next is another quilt for Ellen and what a stunning beauty it will be.  She has requested Nemeshing along with a custom plan we worked on together and I am looking forward to attempting this fun filler developed by Bethanne Nemesh.


After this string of really stunning traditional quilts I have in house, in wait are a string of modern quilts!  So it will be a colorful and interesting few months of work ahead! 

I hope your New Year is full of quilting already!

Tuesday, October 13, 2015

Jane's Border Creek Station Mystery Quilt


I finished Jane's Border Creek Station mystery quilt late last night and I'm so very pleased with the outcome!  I was a little nervous with the density of those pebbles but I think with the striped/piano key border quilting it turned out very even.  I love the texture this gives - Jane sent her own Tuscany Wool batting and it always quilts up beautifully.


The back is so pretty - almost a whole cloth in itself!  I really love neutral backings that show off the pretty quilting...they also show off the mistakes too...but let's just pretend I live in a world where I never ever EVER make those!  :)


Above is the full view photo that Jane sent me - along with a bare bones mock up I sent her.  I had an idea of what I wanted to do - and I wanted to get her opinion on pebbling before I went through and drew pebbles all over this quilt!  Luckily she is a gal who enjoys pretty pebbles just like me!


I did one border with this flourish so that it looks as if the quilting is traveling out and around and framing the quilt from this one point.  I really love it!


I used darn near a full 3,000 yard cone of Bottom Line thread on this quilt - fresh and new from the package!  There might be enough left on the cone now to fill two or three bobbins...those pebbles take up a lot of thread.  


I'm so happy with the way this one turned out.  I've got the feather itch now though - and good thing too as the next quilt is going to be full of them!

Thursday, July 16, 2015

Cheryl's Sew Spooky - Finished!

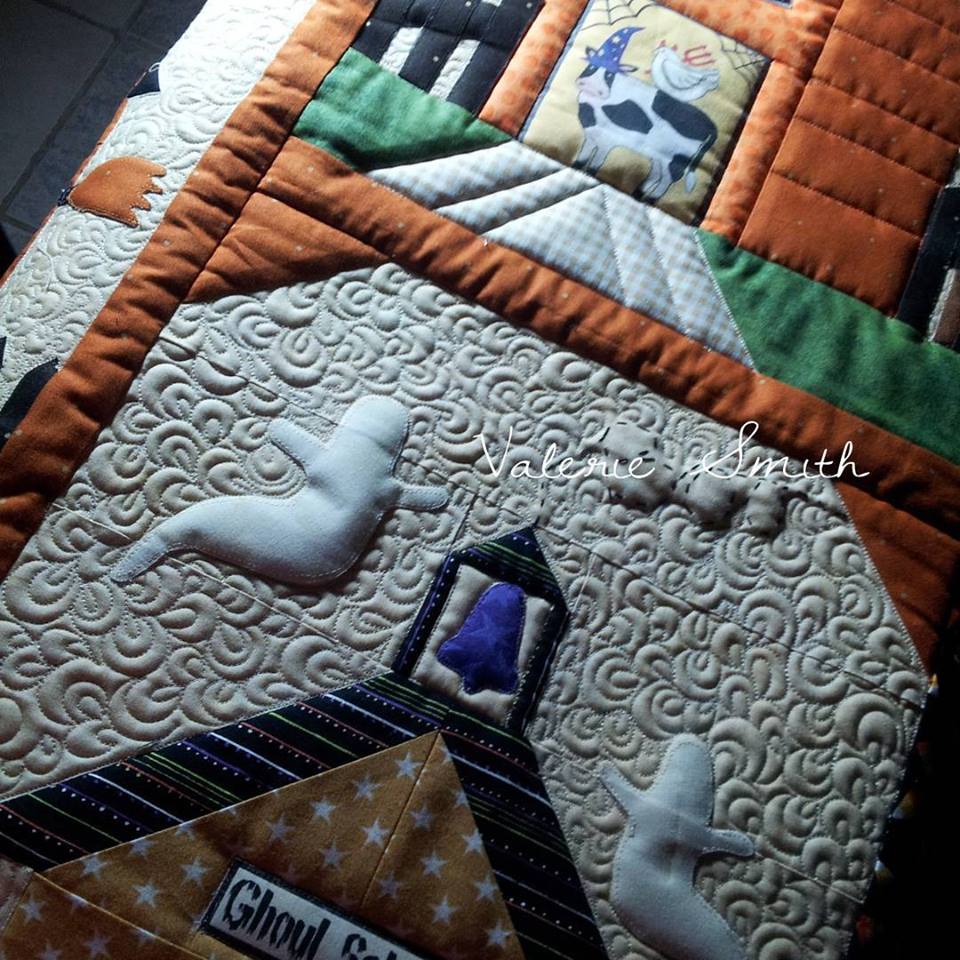
Woohoo!  My third Sew Spooky quilt is on the books, I had a great time working on this.  I kind of thought I might get bored only because I've quilted it so many times - but I really didn't!  I had a lot of fun!


I think part of the fun was in thinking up new designs for blocks I have already quilted.  I love the design process.


At Cheryl's request I used double batting (and I am so glad she asked because I LOVE the definition of double batting) - it really helped fill the appliques with little or no quilting.  Love this look!

I used Glide thread in black, orange, and a tan color called "wheat" for the entire quilt.  The majority of the ditch work was with "wheat".


I really love diagonal lines - though of course you need to space them as accurately as possible, I think with a quilt like this with an almost folk art feeling, I didn't worry if they weren't absolutely perfect.  Just neat and not distracting...my goal was to give this quilt life with textures - not just quilt it o death.

I think it turned out great!  I love this quilt!  

I am catching up on emails over the next week - I found about a dozen stuck in my spam folder, so if I didn't reply to yours I apologize!  I have some big exciting things happening over here that I'm thrilled to share with you...I've been quiet I know, but absolutely working the entire time!  :)


Friday, May 1, 2015

Darlene's Feels Like Spring Quilt Finished!

I absolutely loved quilting this one!  It was so much fun thinking up different backgrounds for each of the appliqués.


The pattern is called "Feels Like Spring" by Smith Street Designs.  Darlene Gerber is the owner and top maker.


The quilt was quilted entirely with Bottom Line Thread by Superior Threads.  It is quickly becoming my go to thread for custom work.


We used a layer of Hobbs 80/20 batting layered with Hobbs Tuscany Wool on top to make the appliqué's pop.


Because of the intricate detail of the embroidery on the appliqué's there is actually NO quilting on the flowers themselves.  Luckily, there was so much detail around the small leaves and petals that I was able to squeeze in and still give a close tightly quilted feeling.   The use of double batting and a lofty wool on top helped to keep the unquilted areas very full against the densely quilted bordering designs.


This was such great fun to work on!  I'm going to guesstimate 50-60 hours quilting time with two weeks on the frame.  I moved a turtle's pace truly only finishing three or four blocks some days, only because of the wear on me with carrying baby Olivia.  :)  I think I would have moved much faster if I weren't big as a house!
I didn't start out intending on adding quite this much detail - but it was so fun and turning out so lovely I kept adding.  I think the finished quilt is fantastic!  I'm so grateful to have had the opportunity to work on such a lovely quilt.

Now I am off until July but I will still be posting my own work.  I am looking forward to a few months off to enjoy baby and work on my own projects!

Thursday, April 23, 2015

A Few More Appliqué Blocks

I finished a few more appliqué blocks on Darlene's floral appliqué quilt yesterday.  This quilt really is a joy to work on.  I have had a lot of questions about the pattern - it's called "Feels Like Spring" by Smith Street Designs.  It's an embroidery pattern - meaning you'll need to have an embroidery machine to create it...and after seeing all of the beautiful flower details that can be created I have to say an embroidery machine is on my Christmas list already!  The lily of the valley block below is my favorite of the entire quilt...


I have Darlene's quilt scheduled through the end of April and although I've been a madwoman getting quilts completed these past few weeks, I'm certainly feeling almost 9 months pregnant and am taking my time with this one.

I had a bit of a long and exhausting weekend and yet another coming up this weekend.  Baby Dr. appointments are now two weeks apart now and honestly, though I know they are good for baby and me both, they are a total inconvenience!  LOL  We have a busy schedule as it is and I'm so grateful I have a Husband who likes to come with me.  So we go on his days off but it is out of town and right now they mainly just measure my tummy and check her heartbeat.  I think my appointment coming up this week I will have another ultrasound to get an idea for how much she weighs - so that I am really looking forward to.

Just a few more weeks - I have a scheduled cesarean planned for the end of May, so a few more quilting posts and then hopefully I'll be able to share some photos of our newest little addition!  :)

Thursday, April 16, 2015

Darlene's Kaleidescope and A Feathery Floral in Progress

Getting a lot of finishes done lately - I'm getting kind of excited at the idea of having a whole month just to clean house, organize, and work on my own quilt.  Baby comes in about six weeks!

Here's a few shots of Darlene's Kaleidescope quilt...


I had a lot of fun quilting this little one.  I want to say it's only 40 x 40?  I was able to get it done in one work day which is rare unless I'm doing an E2E or pantograph!  :)  I used Glide thread which I love for things like all overs and also straight line quilting.

Her next quilt is a lovely floral appliqué that we decided to go a little more detailed with.  For this one I'm using all Bottom Line thread in both the top and the bobbin.


More photos to come as this one will likely take me a little longer...not only is it a large quilt but there will be lots of pebbling and detail work.  I'm looking forward to it though - it feels very very summery!  :)