
I'm back! The stroller cover was a hit at Disney! I might have to make another less-Disney-ish cover just for fun. :)
Here's part two of the Cover Tutorial...
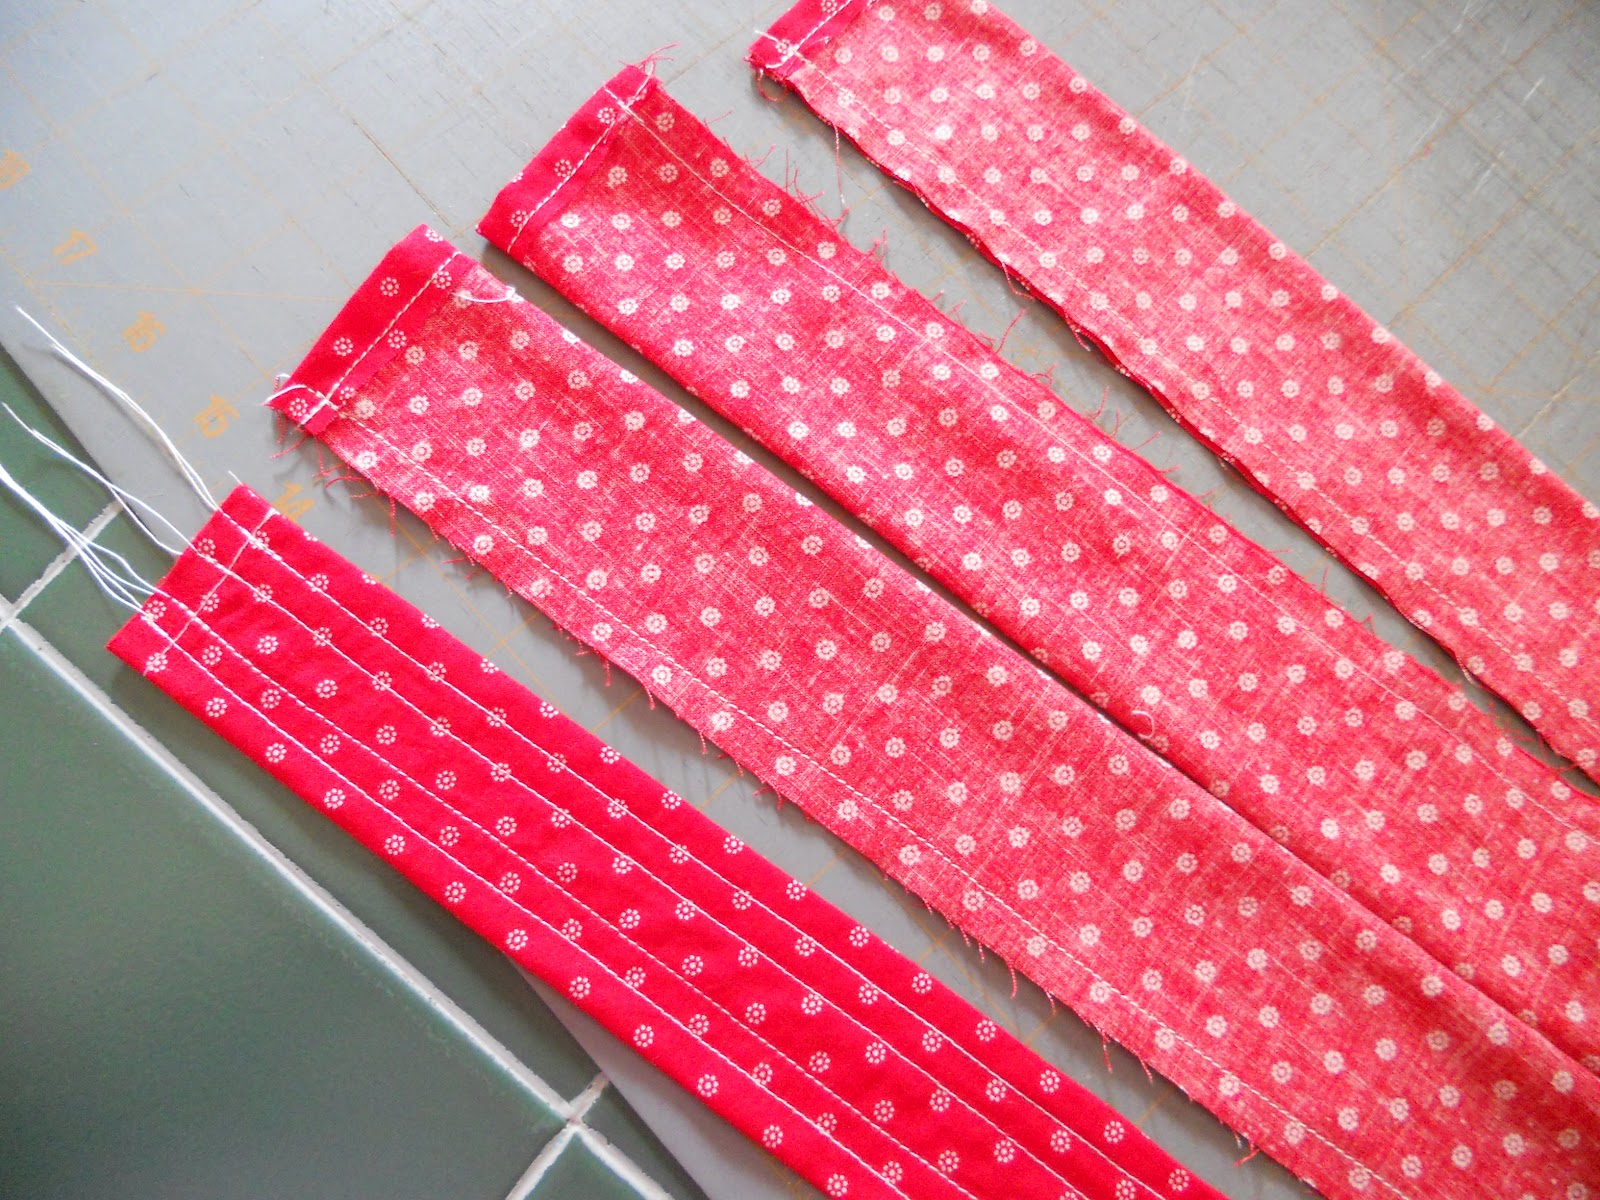
For ties for the canopy cover I cut two 3" strips from a cut of fabric folded selvege to selvege. I folded and pressed those strips in half, then folded both strips in half and cut them into four ties.

I sewed each tie down one side and created a tube, turned that tube inside out using a safety pin as a guide, and then pressed again. For stability I sewed four lines of stitching down each tie.
Attach two ties to both either ends of the bottom edges of the canopy cover with pins, then stitch. When you place it over your canopy it will tie into a pretty bow just like this! :)

To make the seat cover I just guestimated. Lay your fabric over the seat, and cut a little notch in the side of the fabric selvege where the back and the seat meet. This will give you an idea of where to cut a curve in your fabric.

I cut the fabric at the point where I wanted my cover to end, allowing enough extra fabric to turn under and create an elastic band at the top. I didn't measure it but I want to say this is about 40" long.


Using the notch you cut as a guide as to where to cut, create a curve in your fabric. Don't worry if selvedge is showing at this point, once you've sewn this under you won't see it.

To create a curve at the top and bottom neatly fold and press. Stitch about 3/4" under. You can serger the ends first...I don't have a serger!

Create a casing at the top for elastic. This is going to go over the top of the stroller seat where your little one rests his or her head.


Again, I just held a piece of elastic accross the width of the cover and guestimated the length.

Besure to leave openings at the start and stop of your casing so that you have a place to insert your elastic!

TIP: Whenver you are inserting elastic and there are TWO open ends of casing...to prevent your elastic from getting "sucked" up into the casing, add another safety pin. So if you DO accidently pull that elastic up into the casing, you can easily guide it back out.


Now I made this covering for just a one time use. We used this for our trip to Disney but I probably won't be using it again after that so I didn't put a lot of time into perserving the raw edges. I simply cut a slit up the center of the leg area so that the belt will fit through. I did NOT finish the raw edges but pressed them under...you may choose to use pinking shears and a zig statch stitch to prevent fraying or even serge the edges so that you can throw this in the washer.

To finish the center of the slit where fabric cannot be folded under I used a little patch of matching fabric and stitched it in place.

Attach a ruffle if you choose to the bottom, and ties for attaching to the stroller made in the same way that you made the stroller cover ties.

Using a coordinating fabric again make a few more ties and attatch to close the bottom portion of the cover.

Voila! You now have a super simple quick and easy stroller cover!! If you choose you can even theme it up and add a Mickey head applique and ears!!! :)

1 comment:
Where is part one of the stroller cover set tutorial
Post a Comment